

Insole Care & Instructions
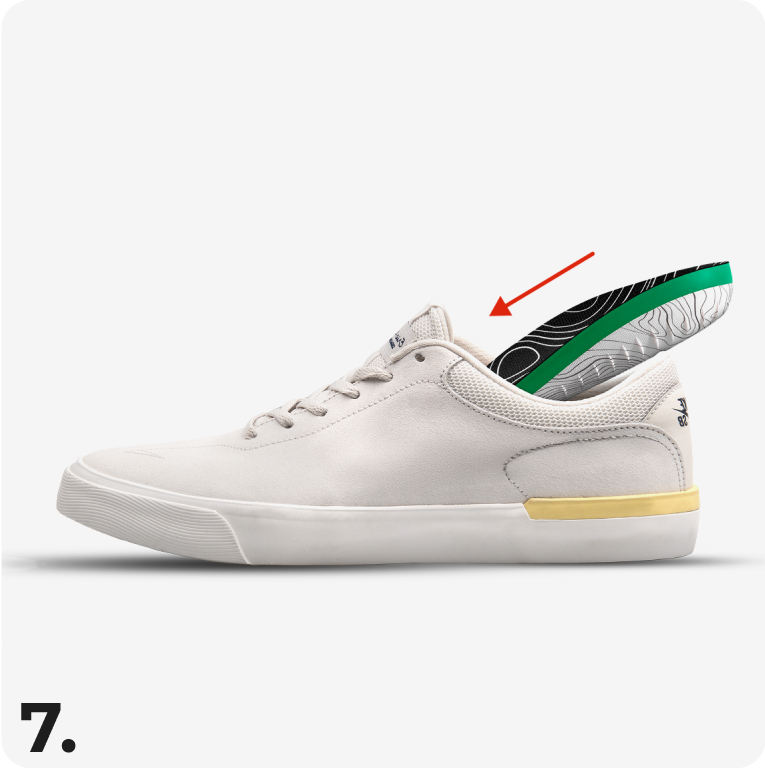
For Full Length Insoles:
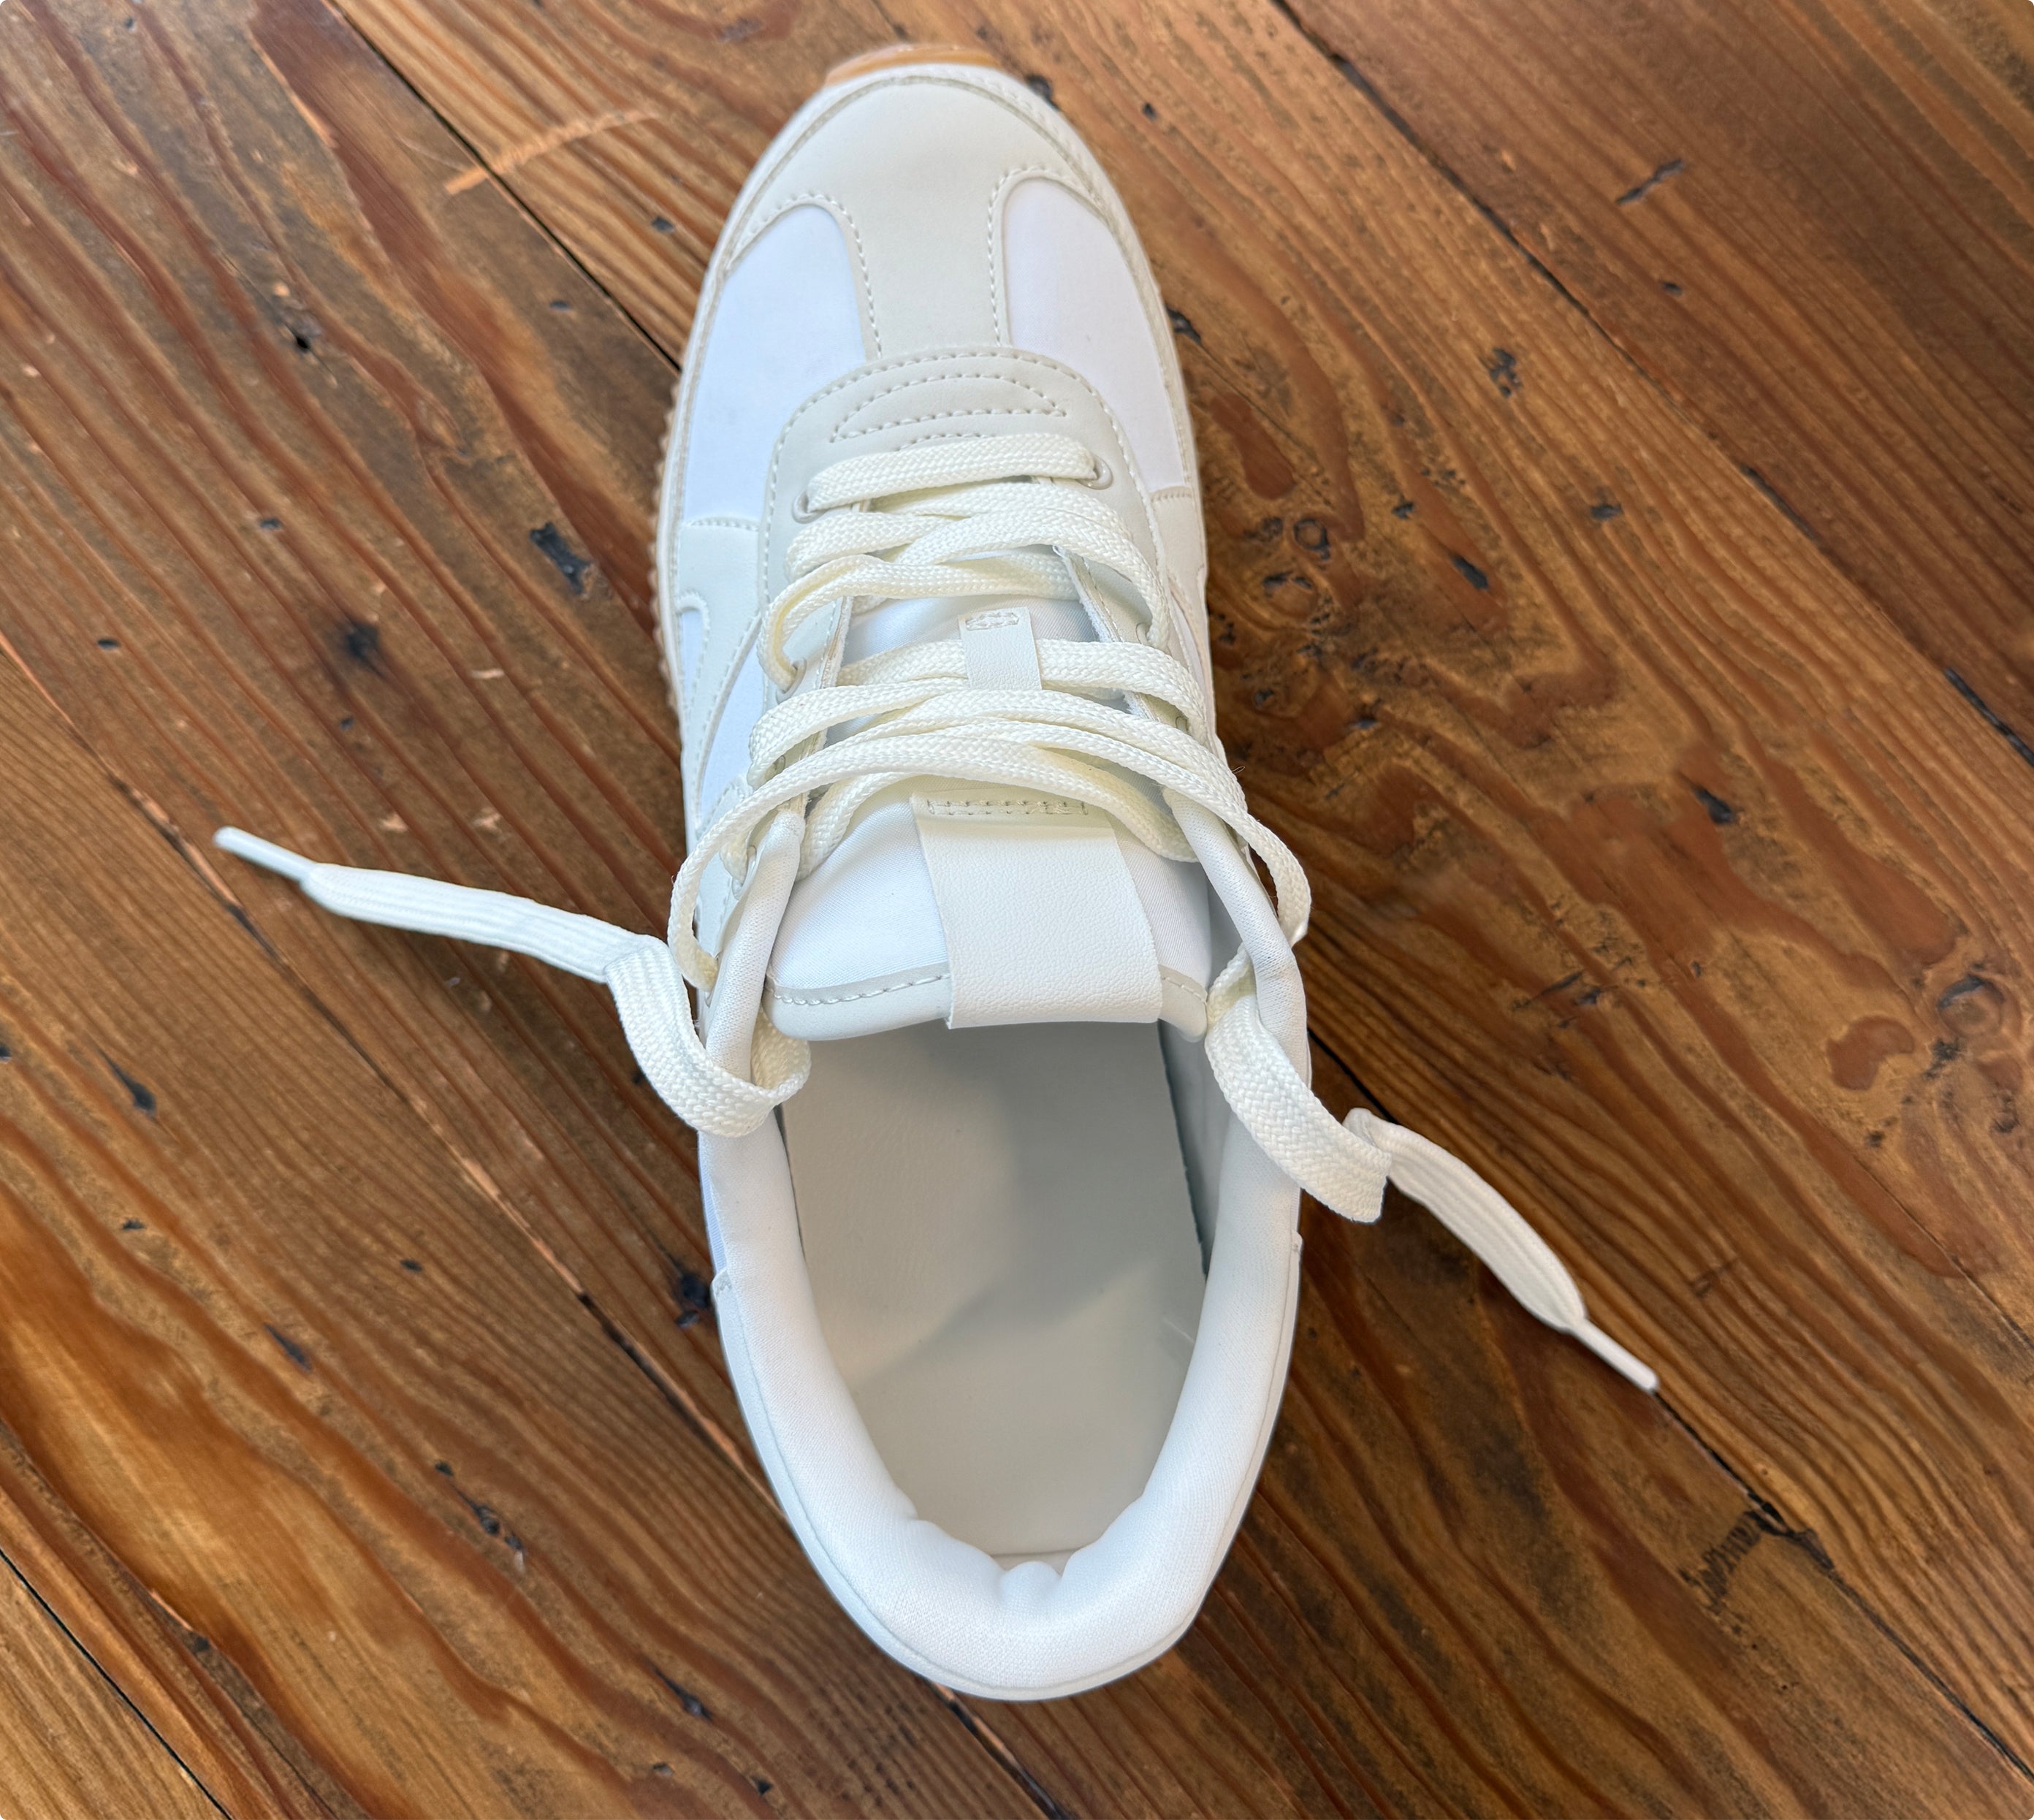
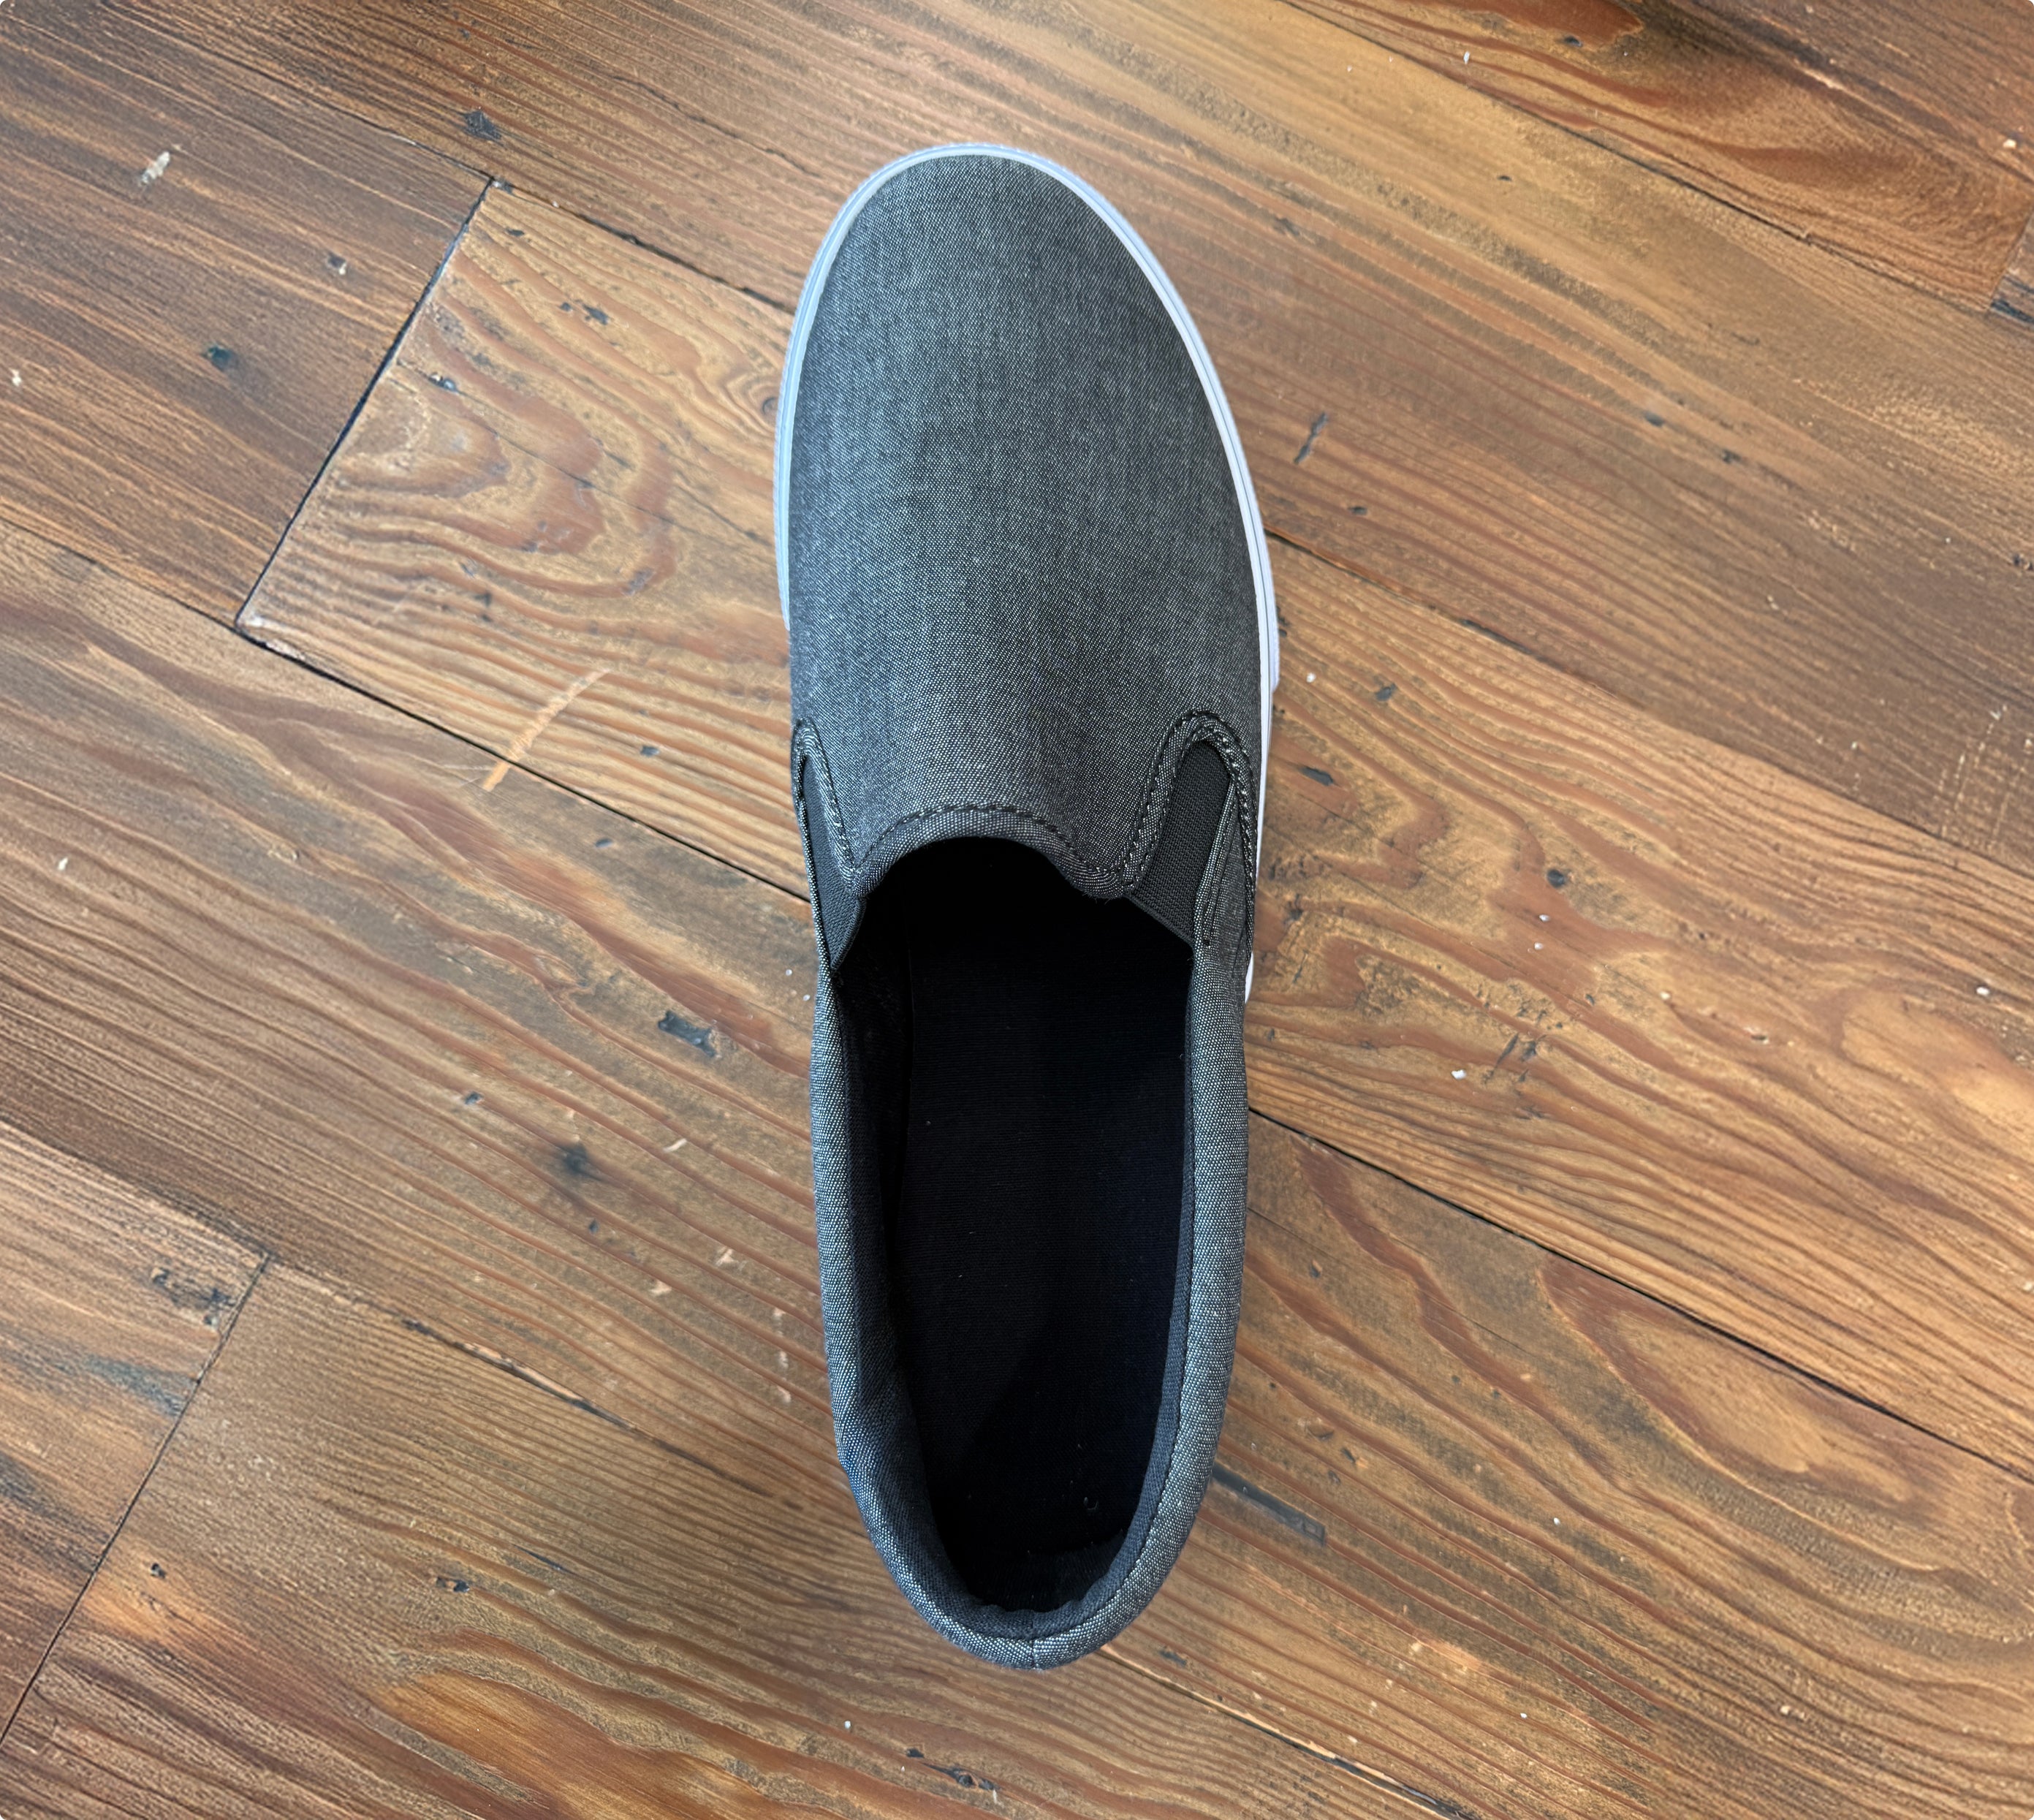
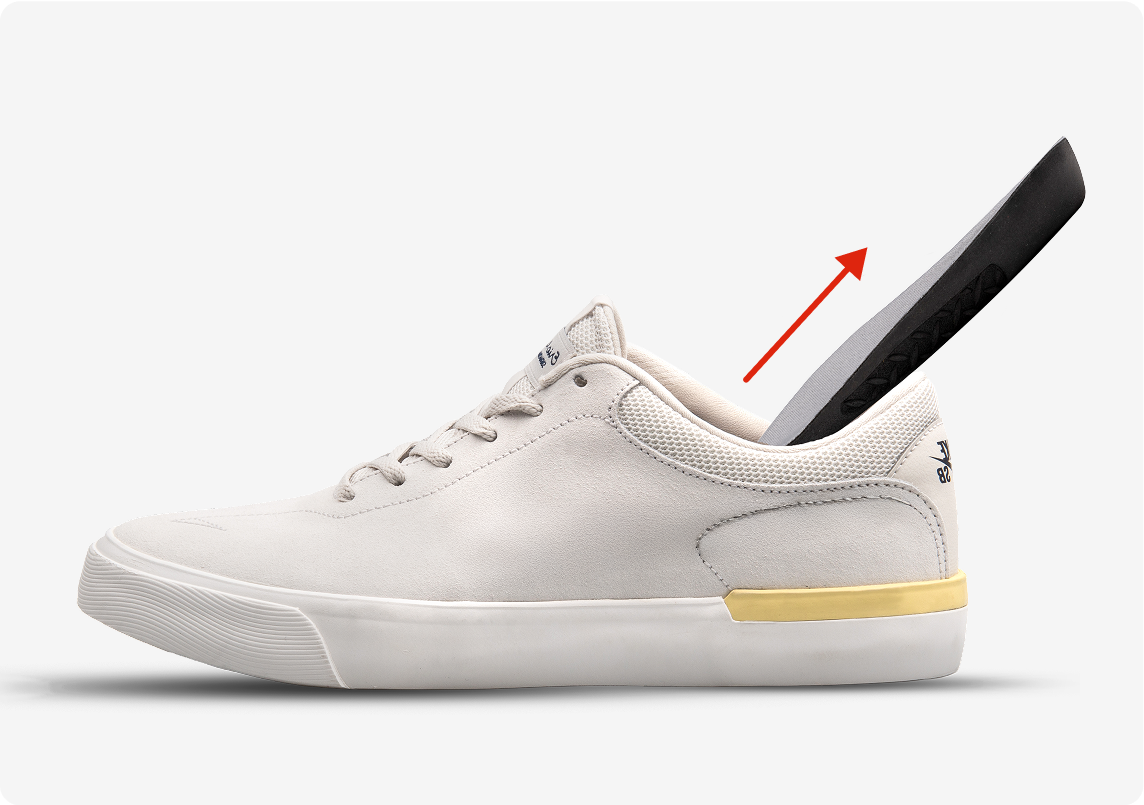
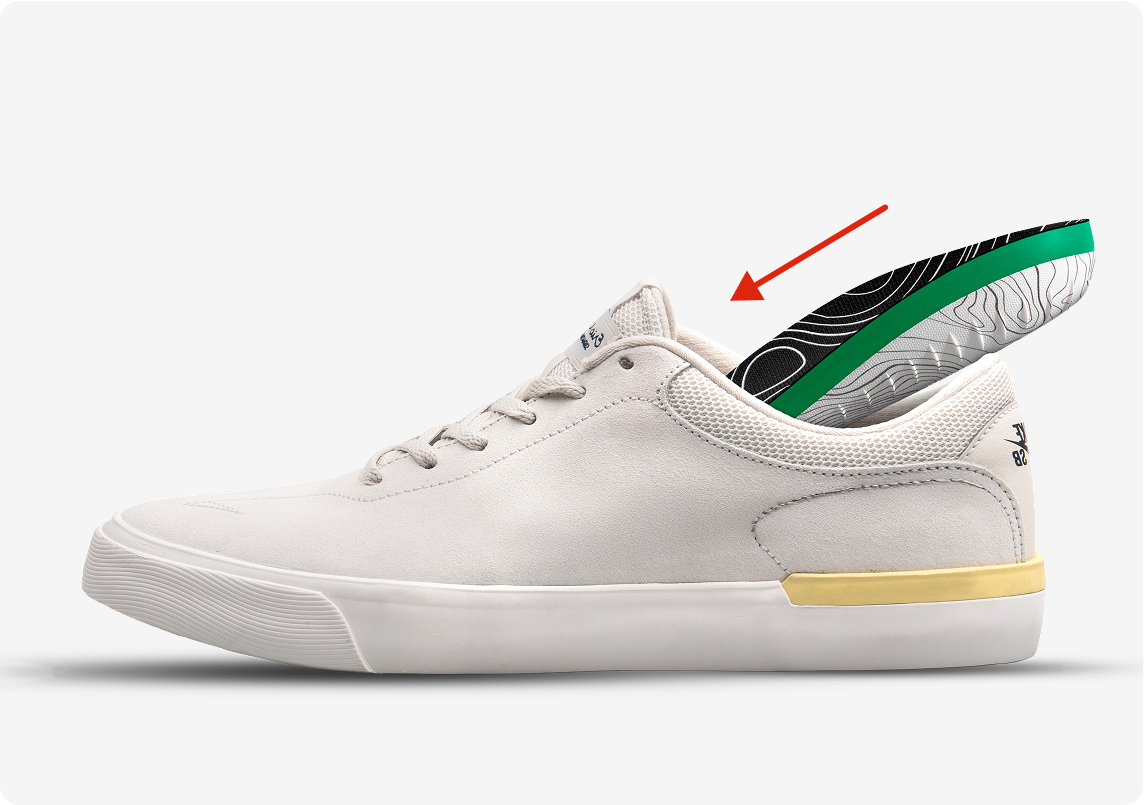
- Loosen your shoe's laces all the way.
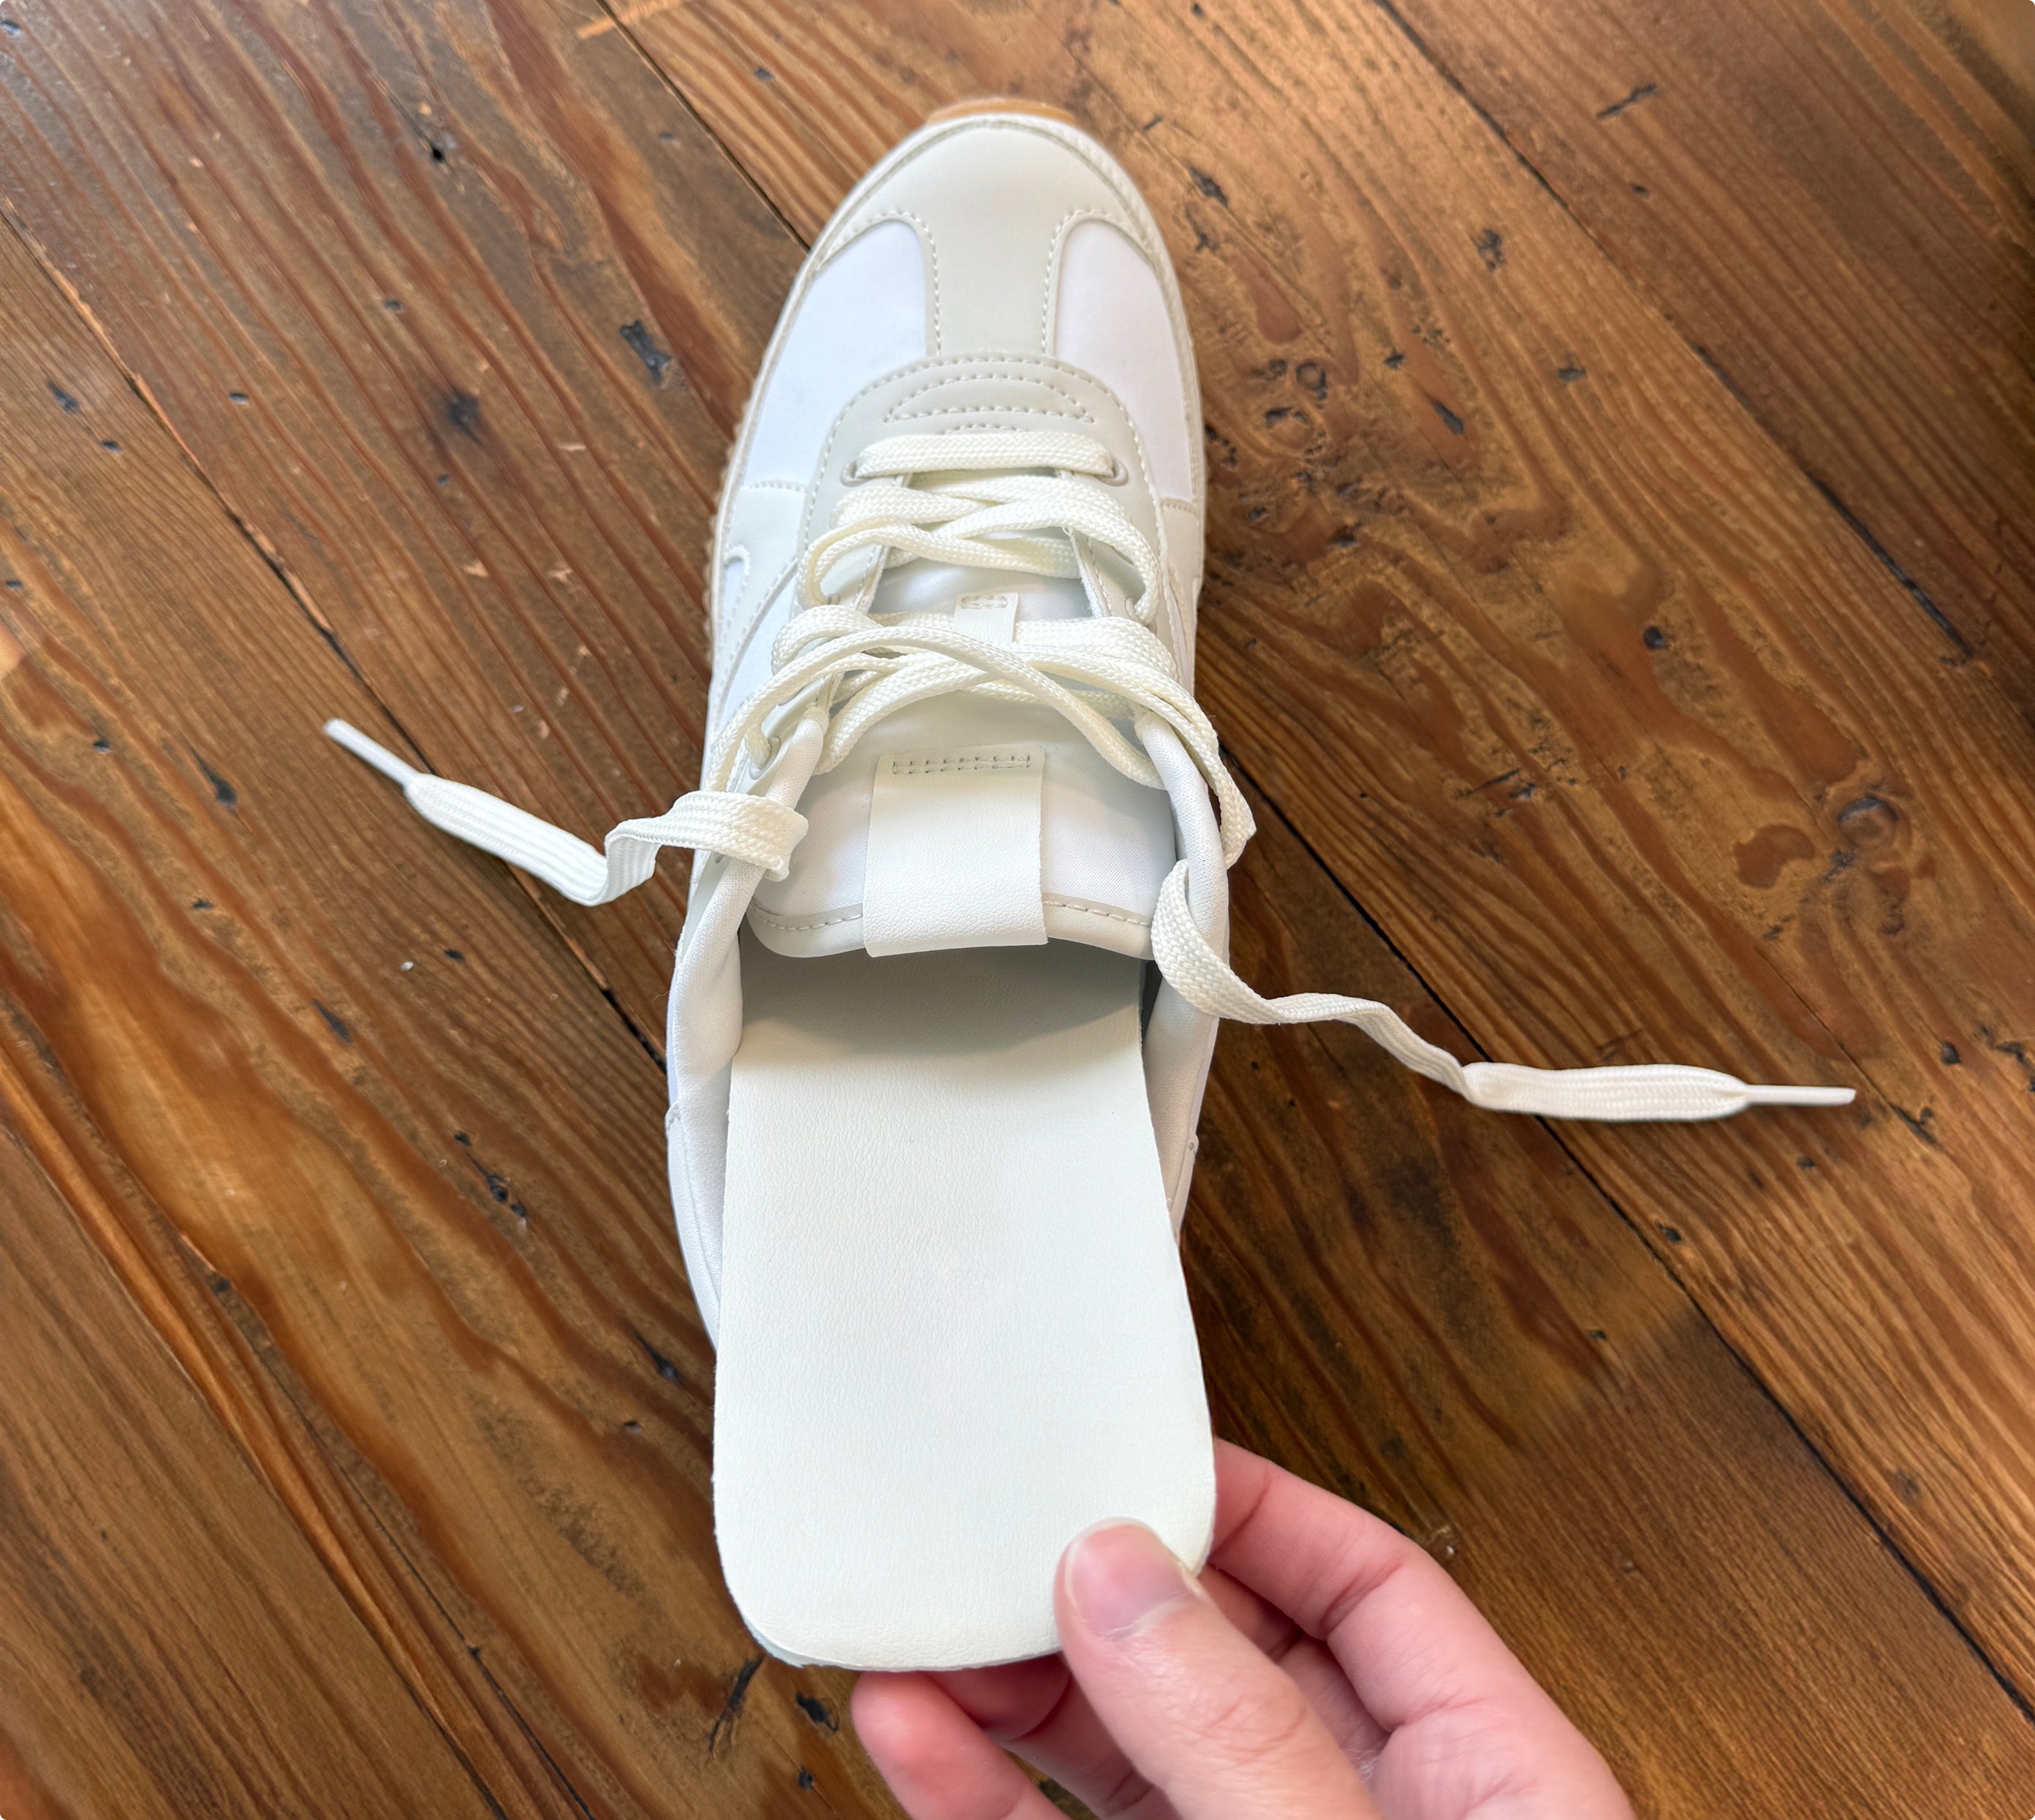
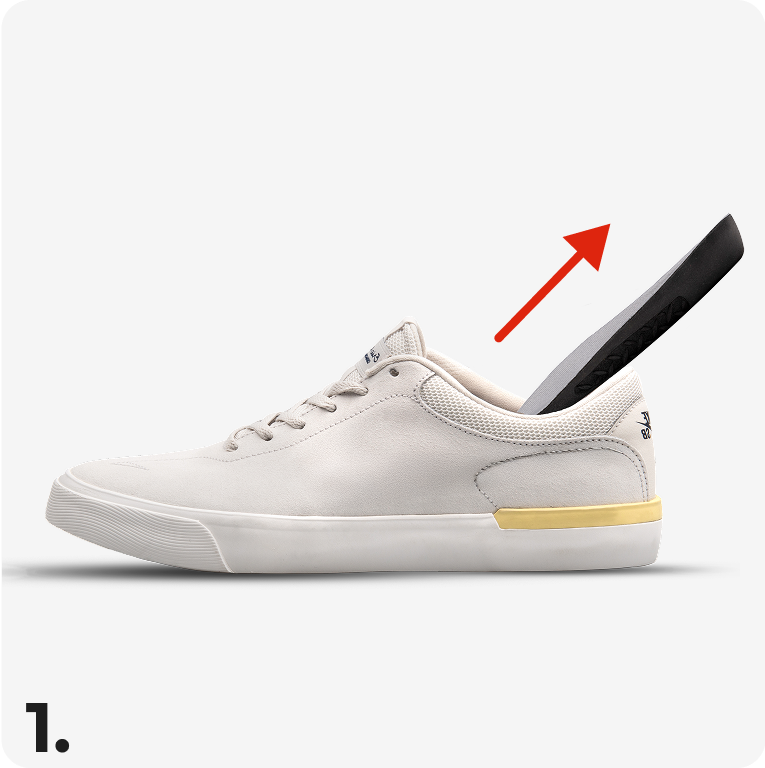
- Remove your factory insole. Sometimes it will be tacked down with a bit of glue but a gentle pull should release it.
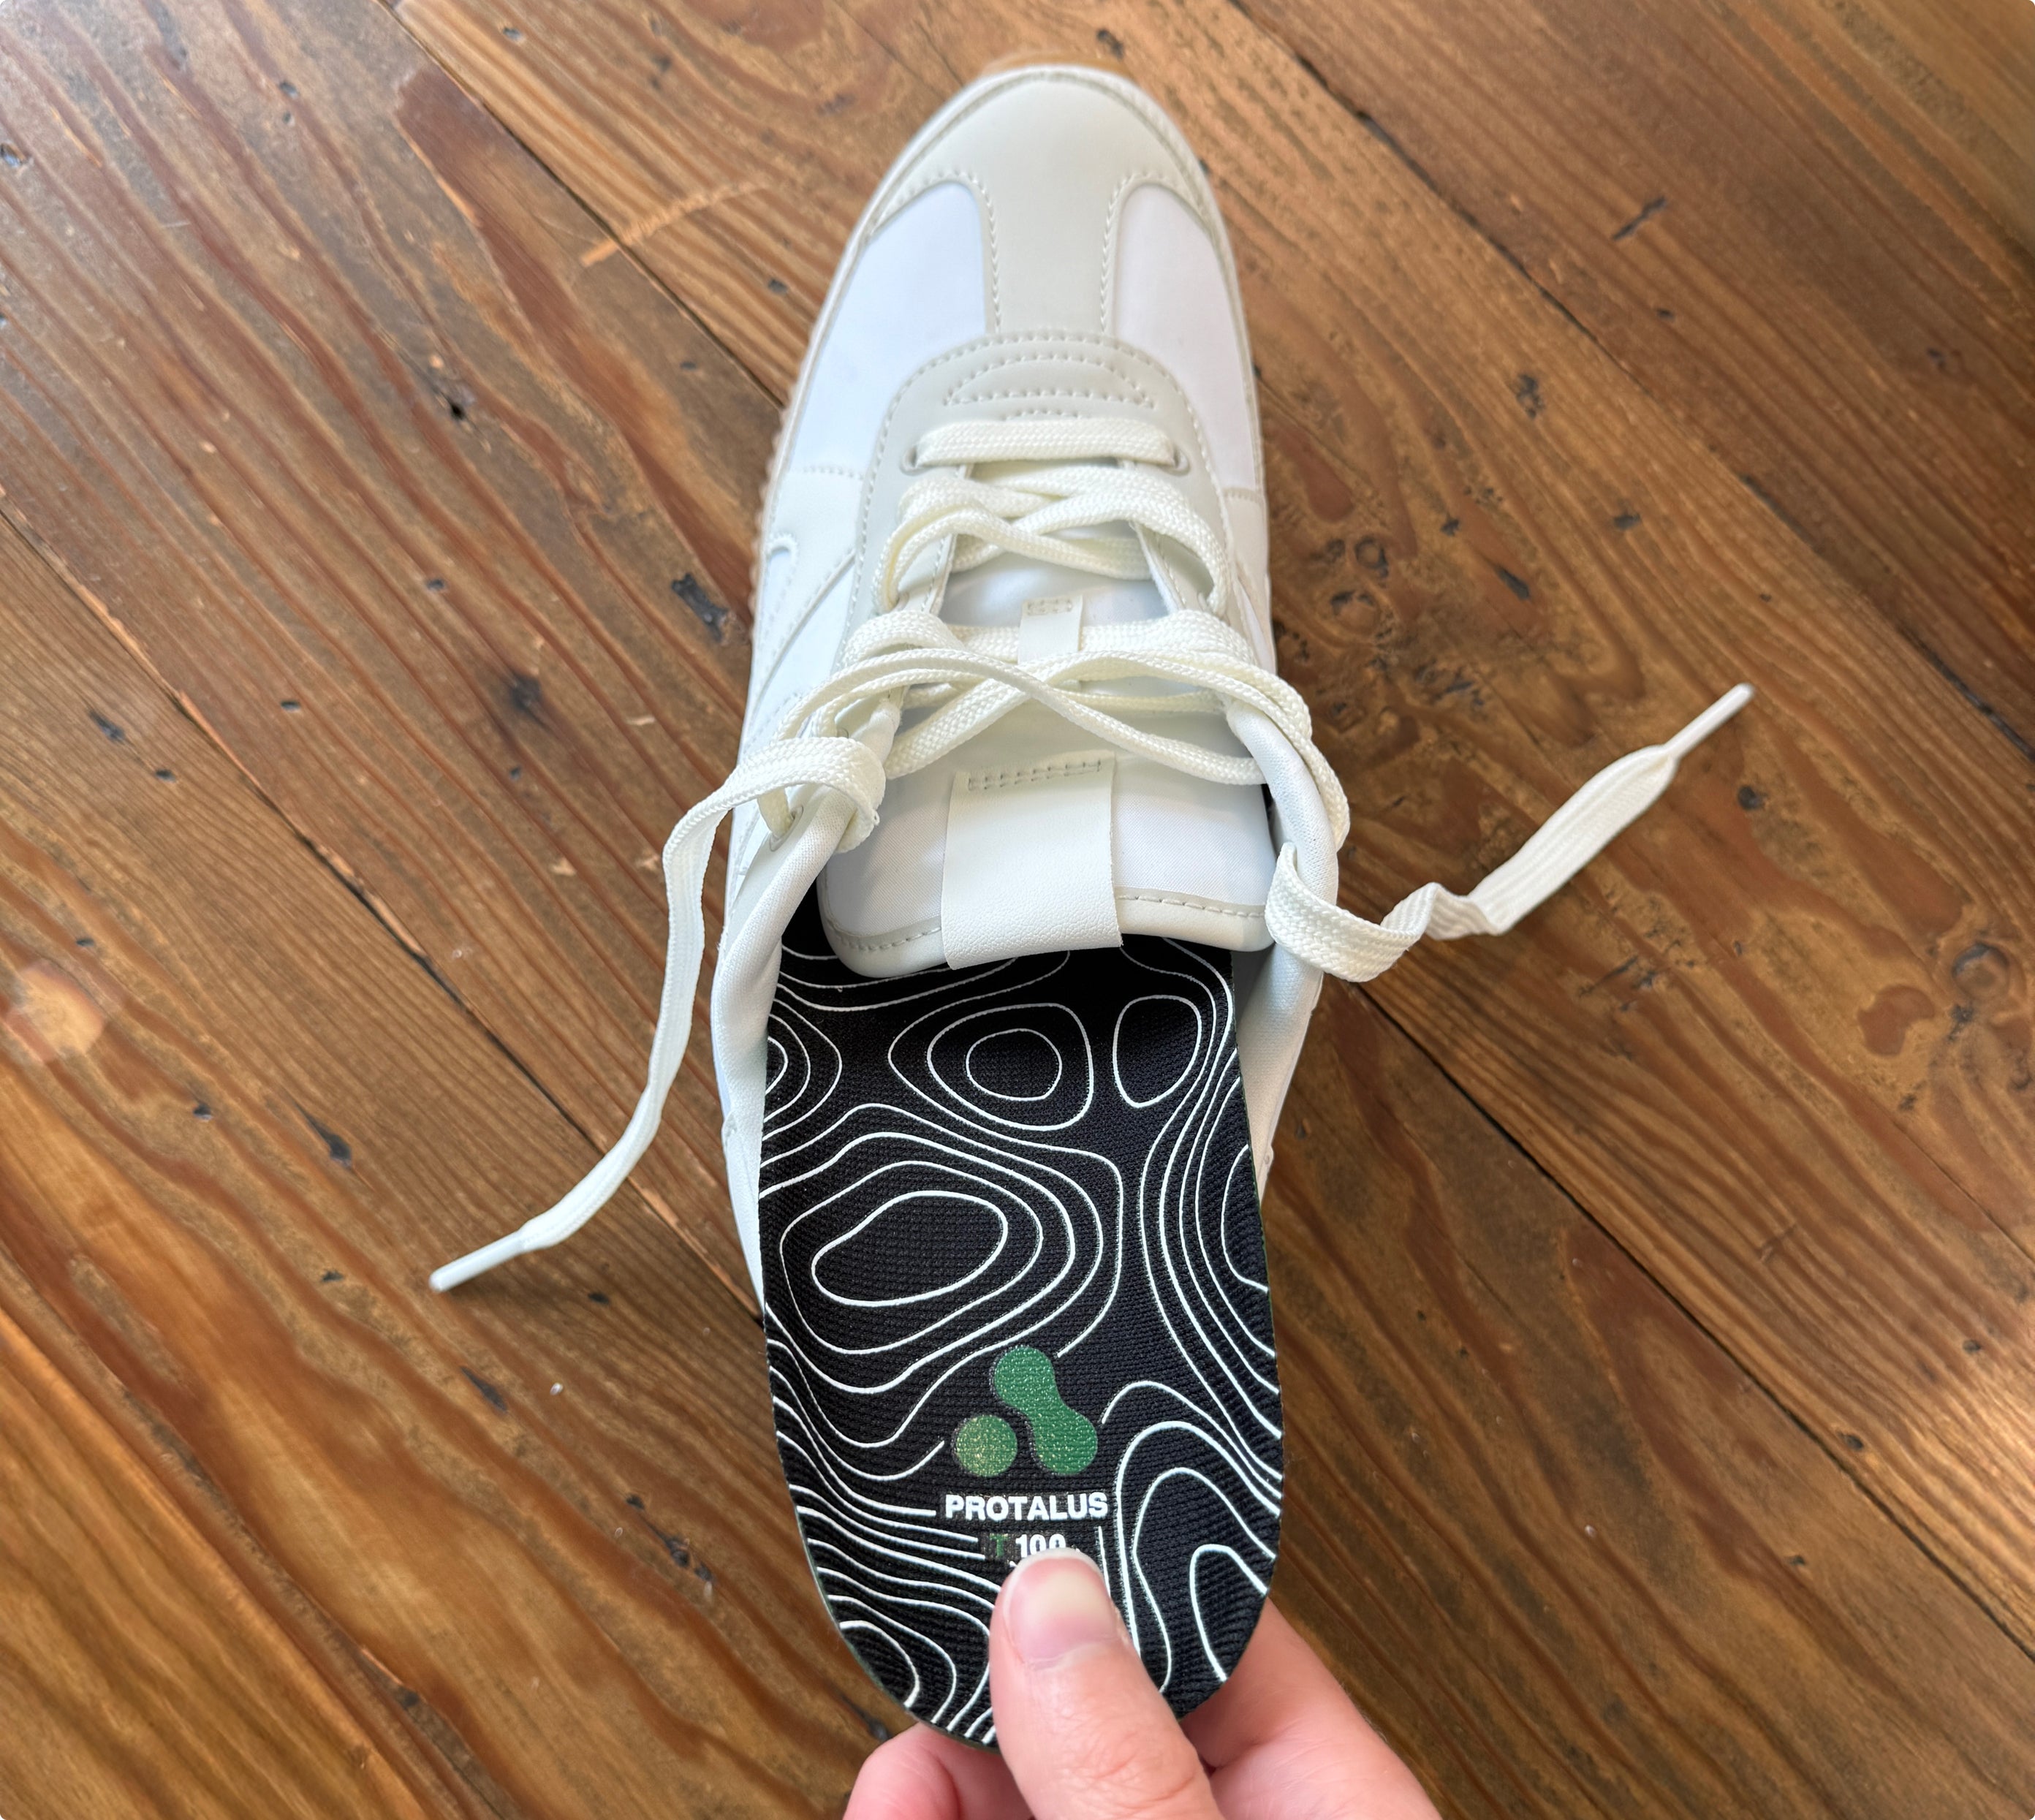
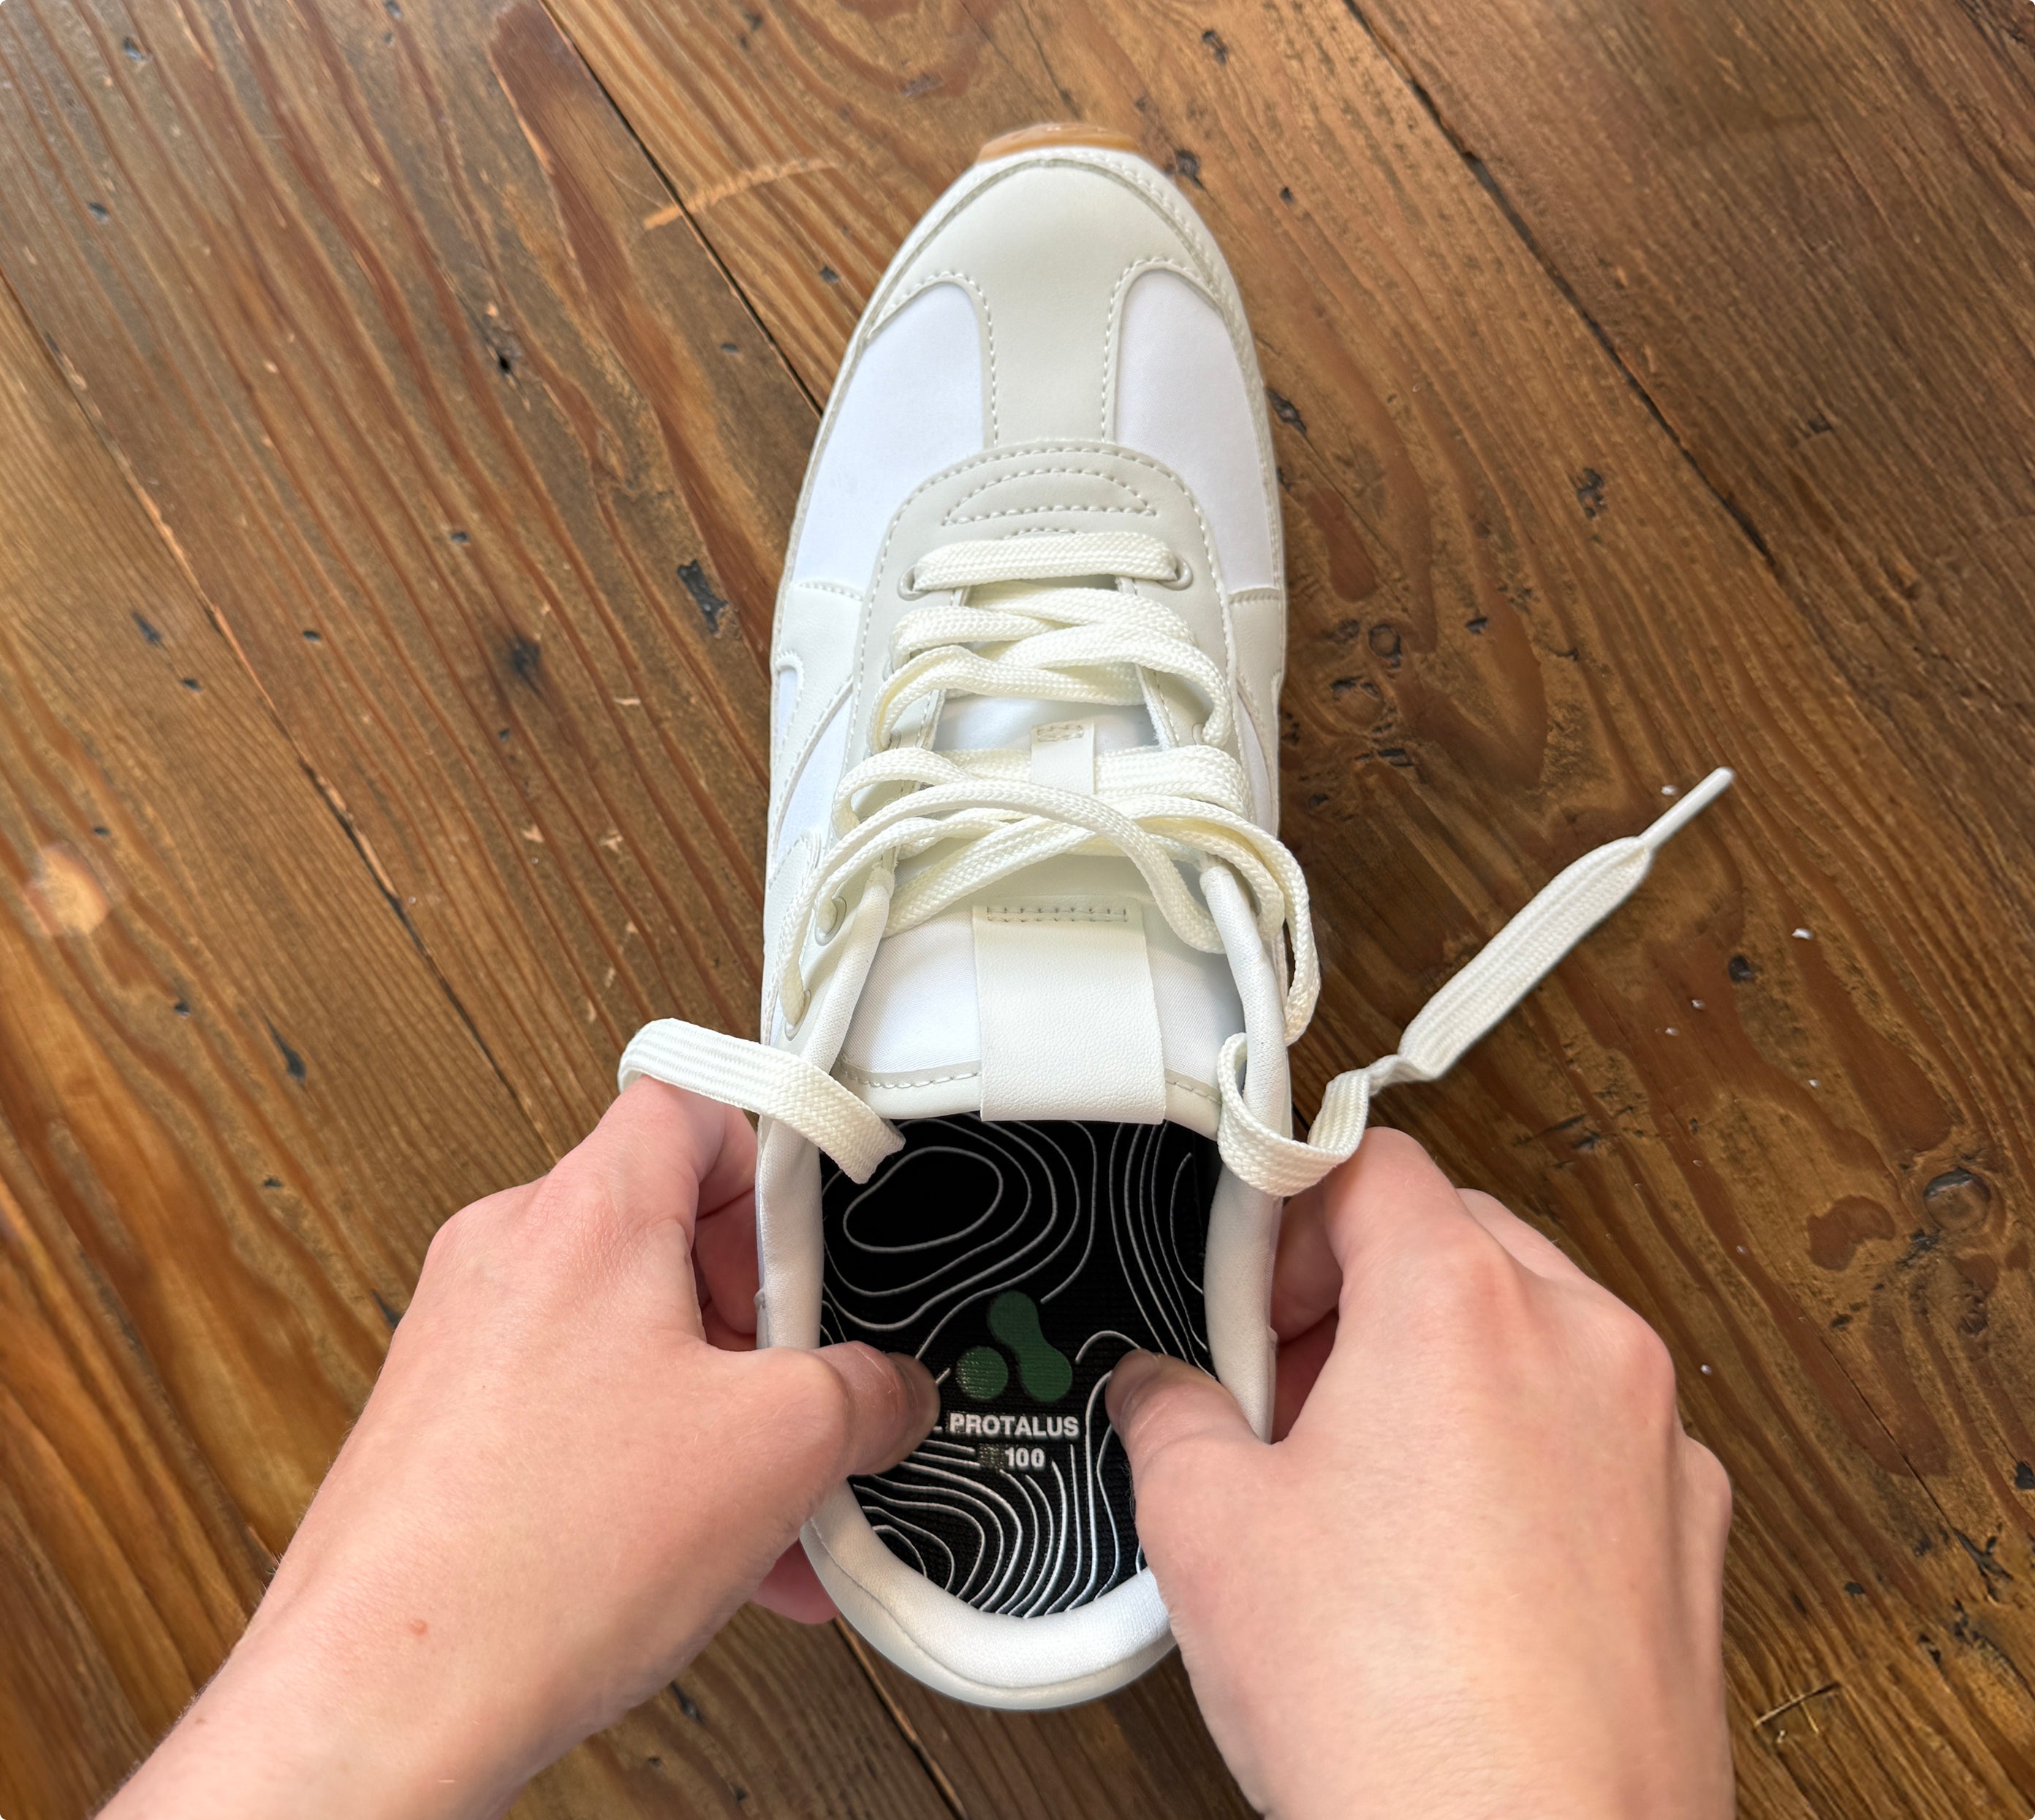
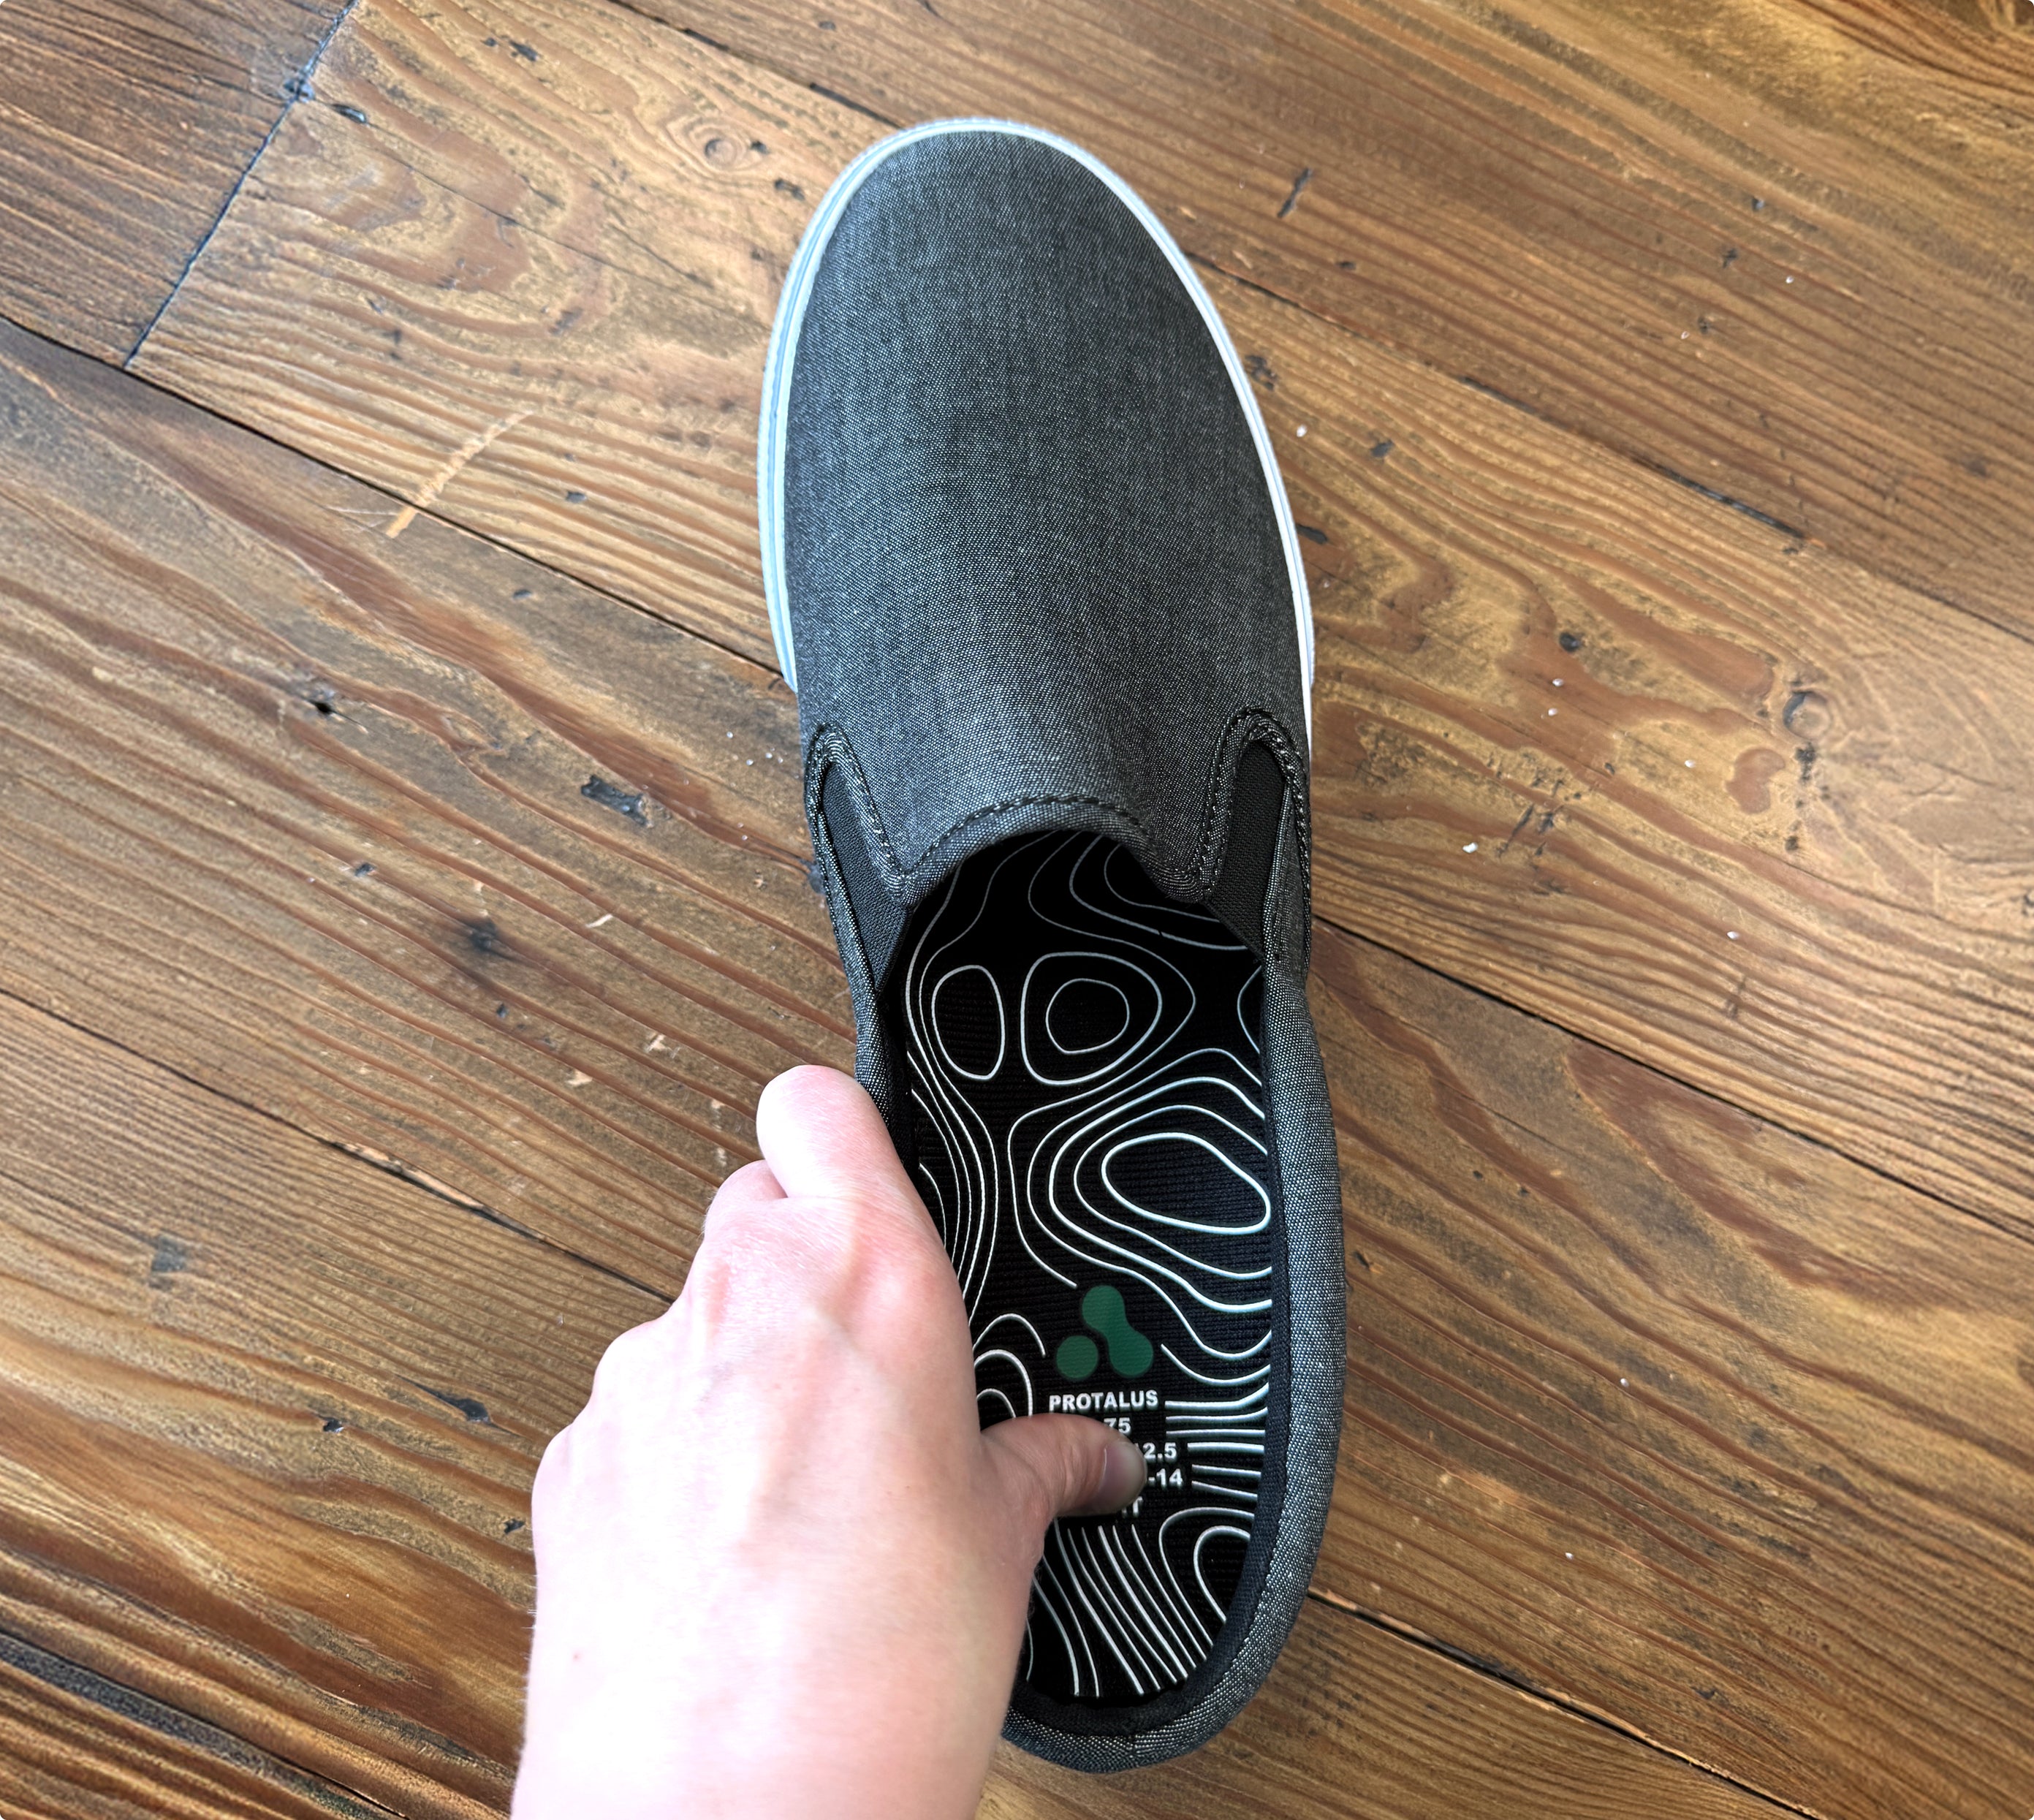
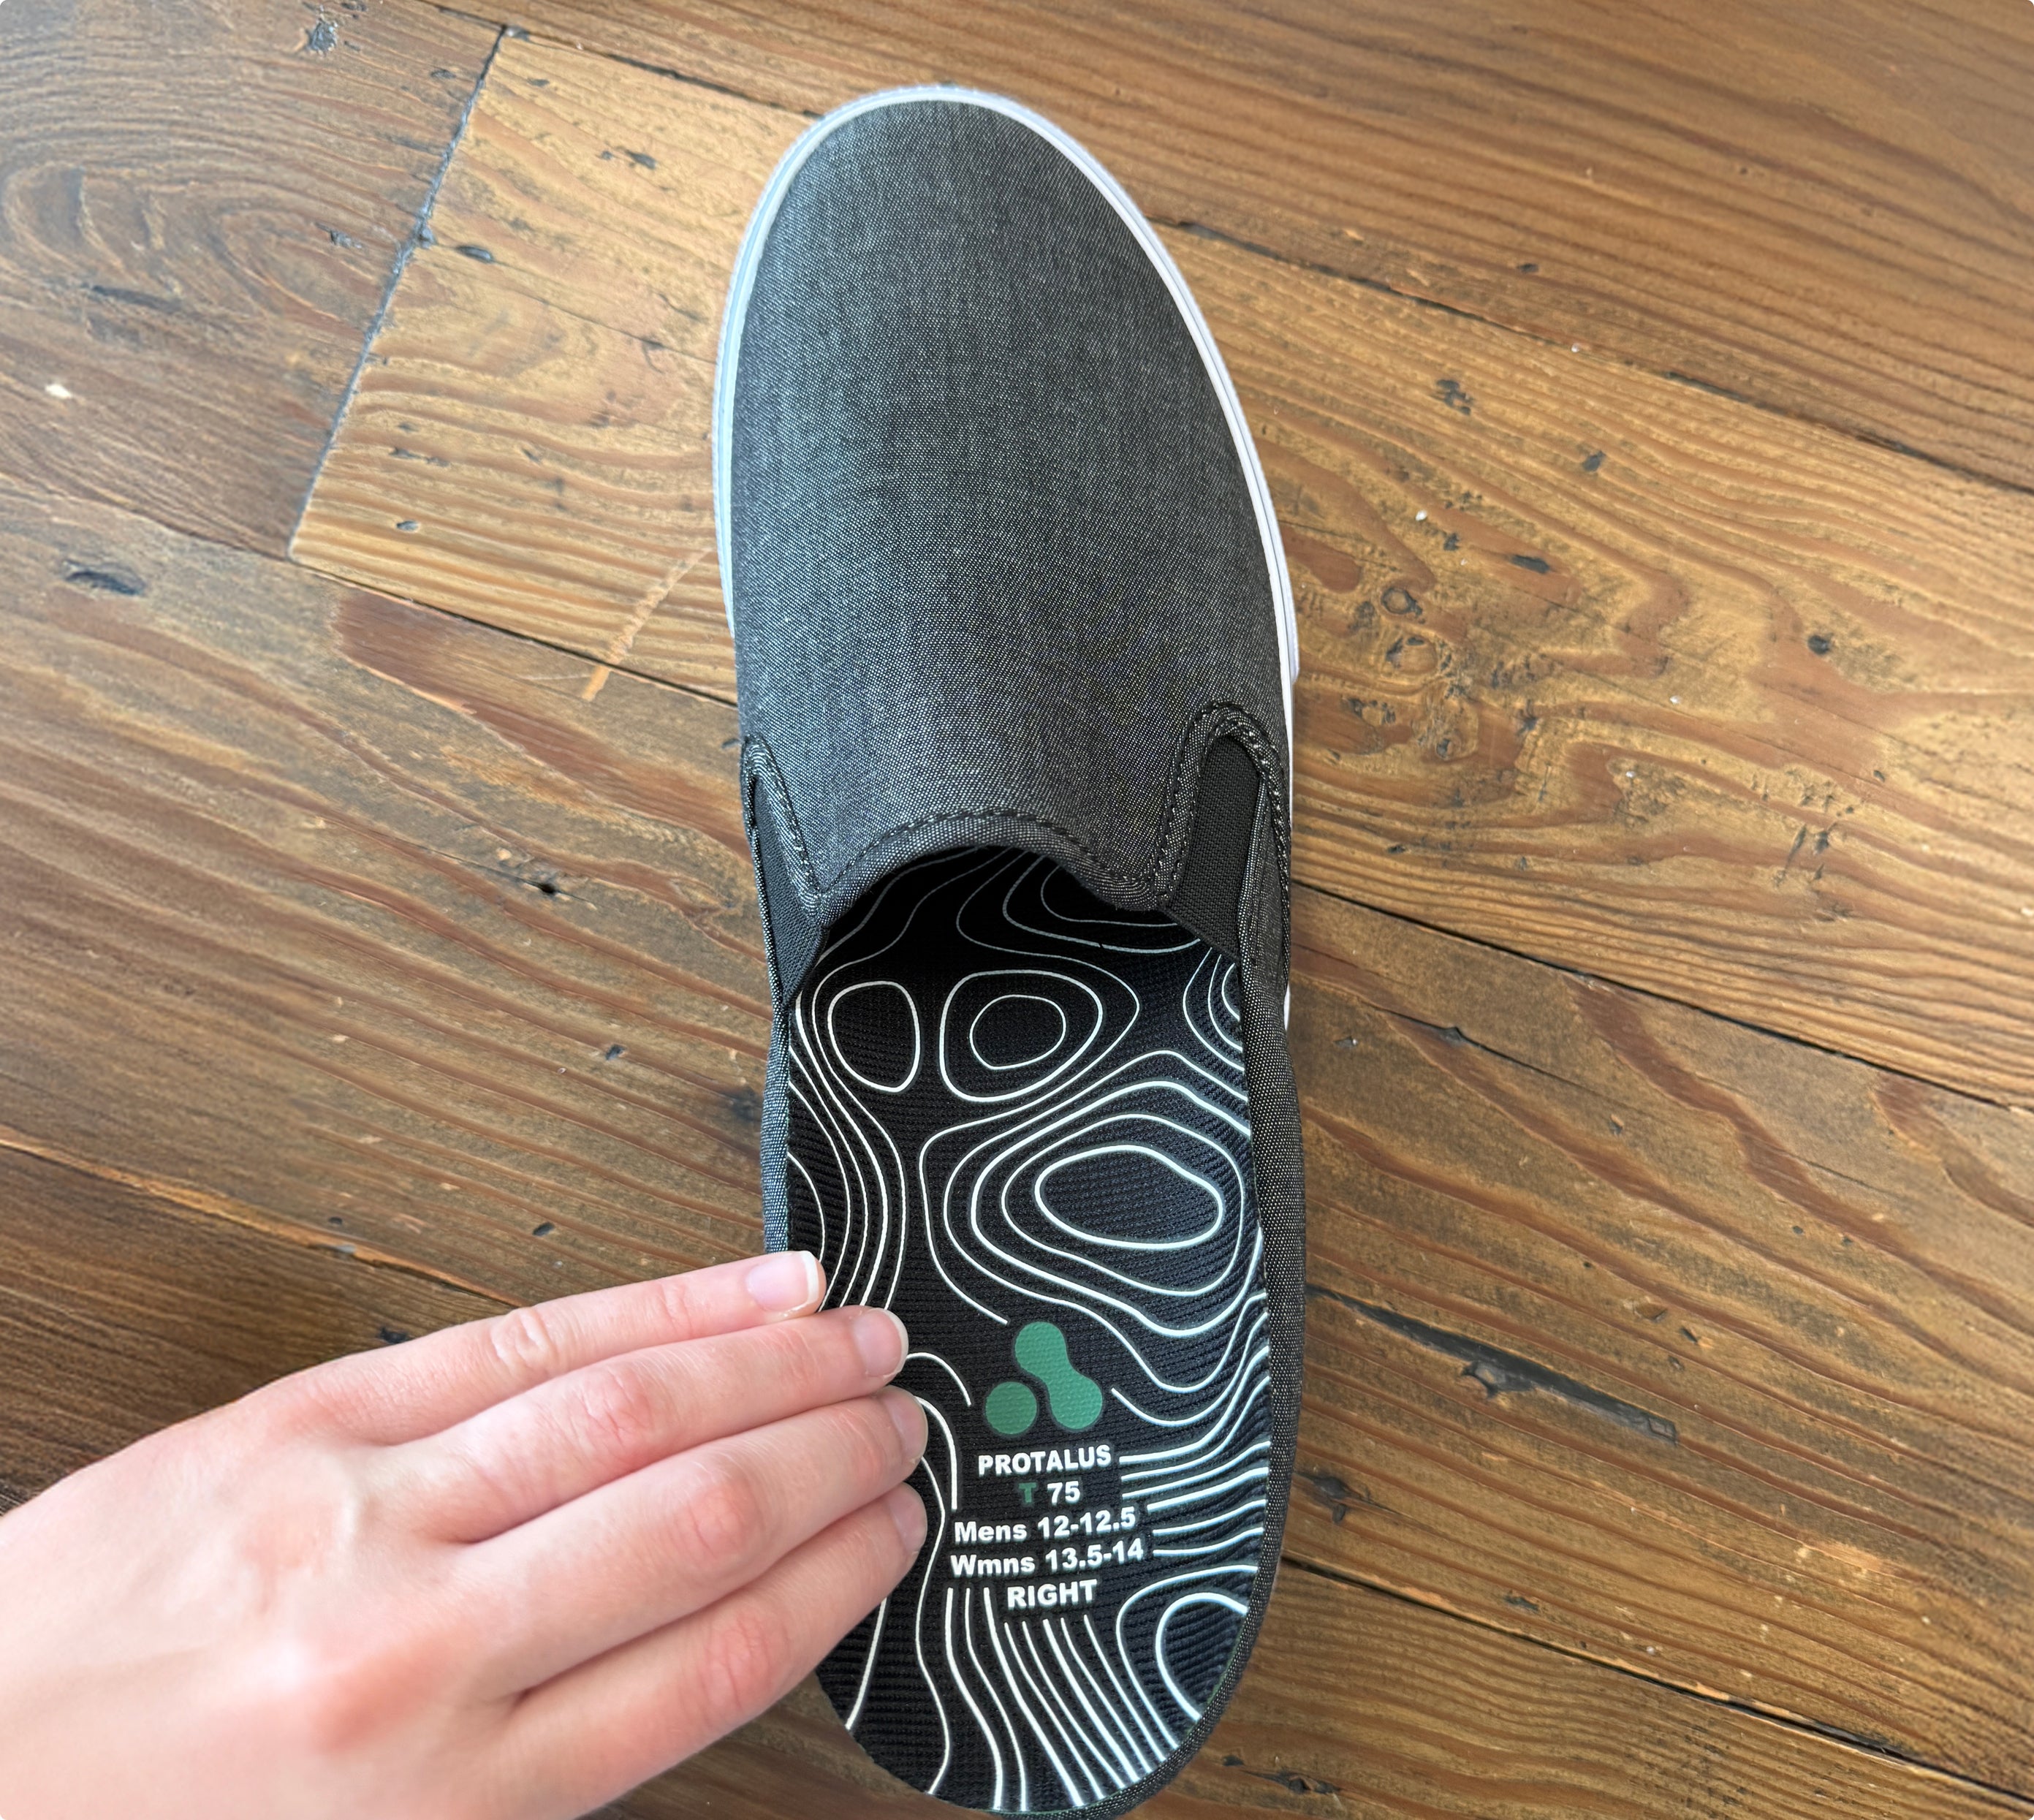
- Slide the Protlaus insole into the shoe and press down on the center of the heel to ease it into place.
- Put your shoe on and tighten the laces to your comfort level.
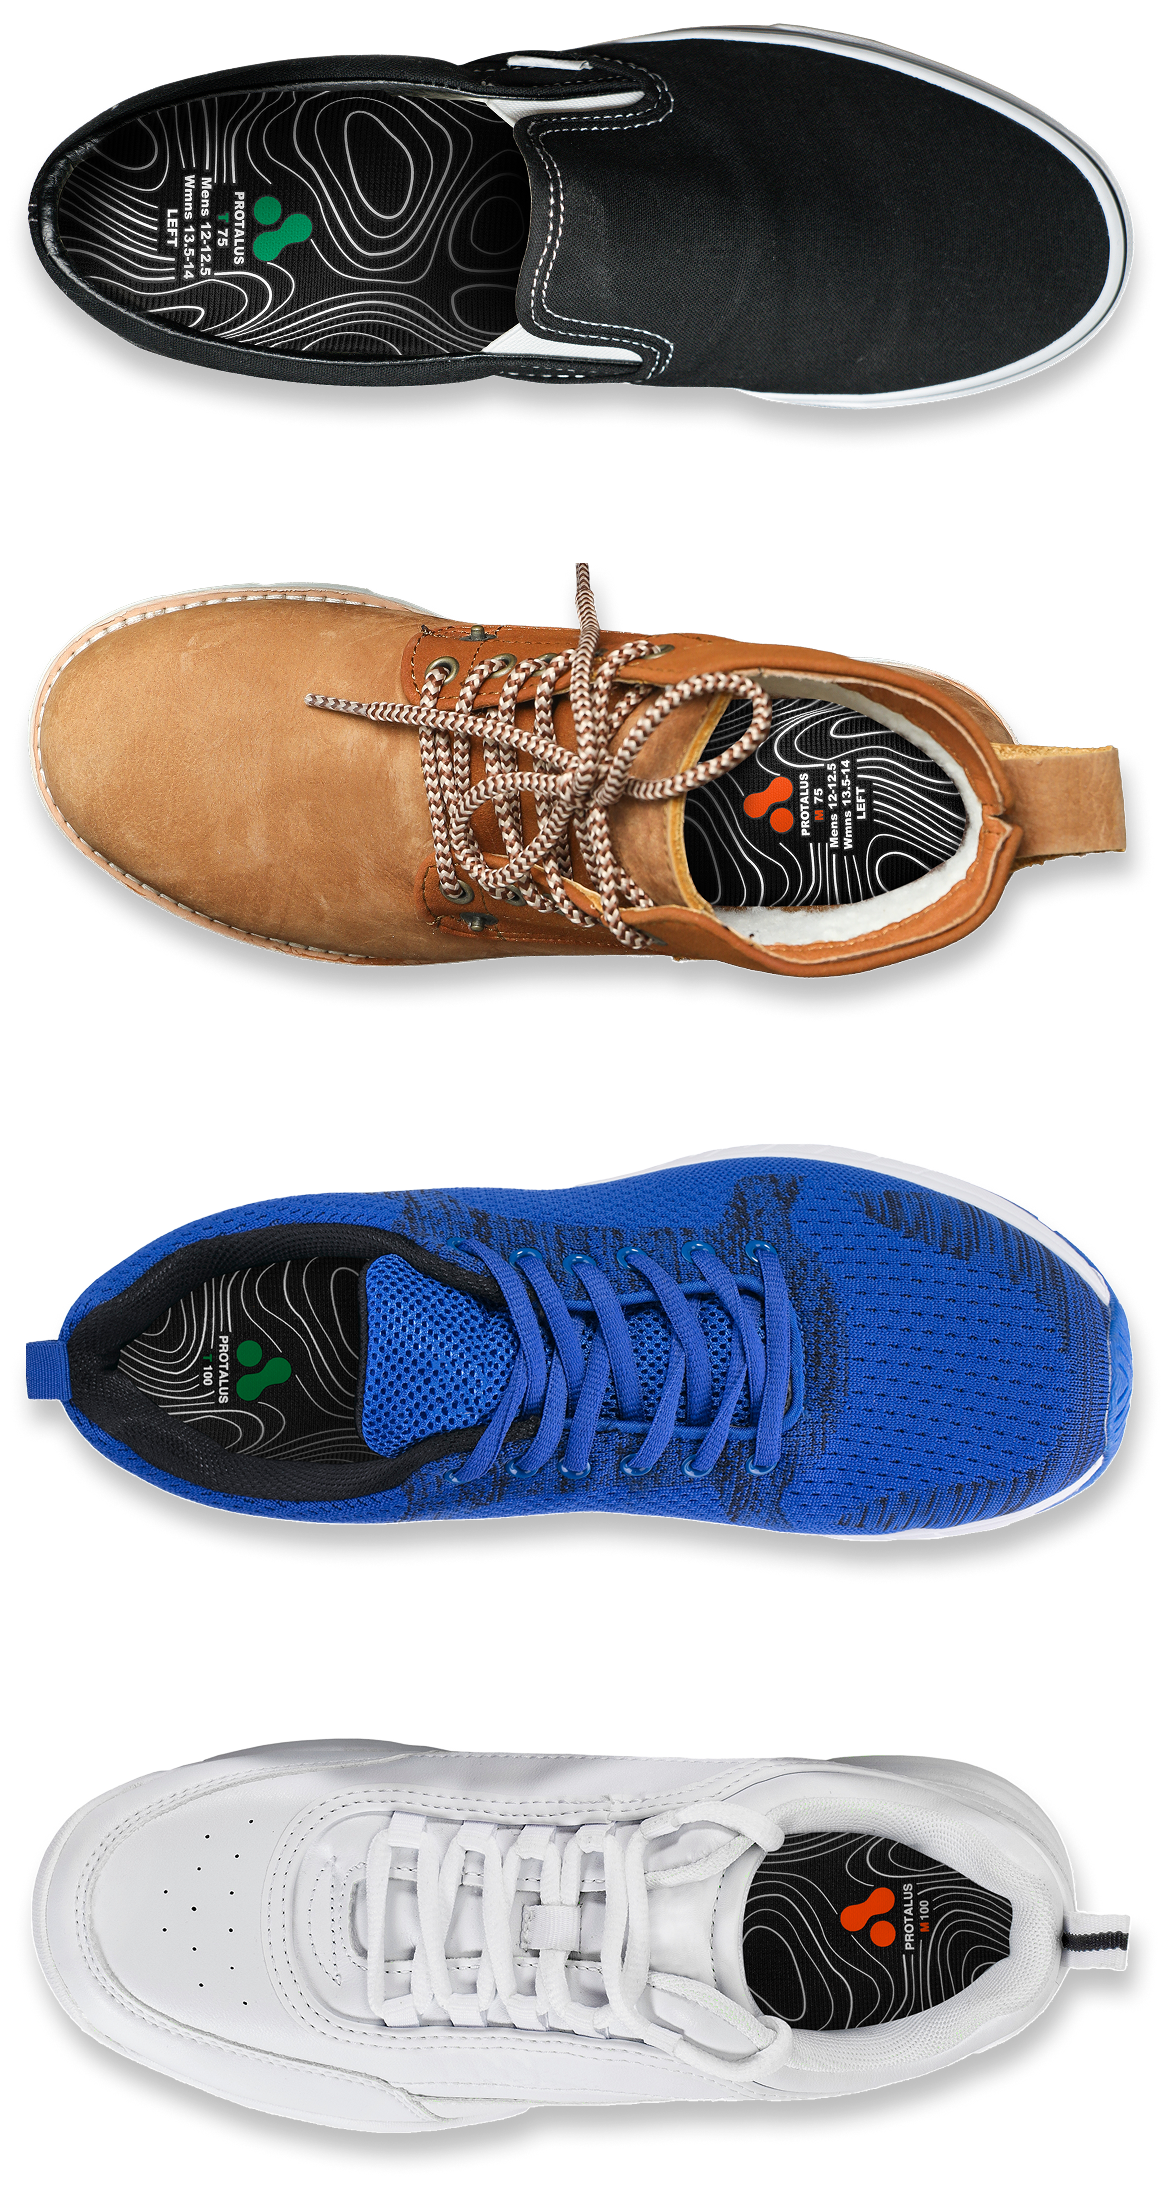
For 3/4 Length Insoles:
- Loosen your shoes laces all the way if applicable.
- Insert the 3/4 length insole directly over your factory insole. Press down on the center of the heel to ease it into place.
- Put your shoe on and tighten the laces to your comfort level.
Enjoy lasting comfort and relief!
For Full Length Insoles:
- Loosen your shoe's laces all the way.
- Remove your factory insole. Sometimes it will be tacked down with a bit of glue but a gentle pull should release it.
- Slide the Protlaus insole into the shoe and press down on the center of the heel to ease it into place.
- Put your shoe on and tighten the laces to your comfort level.
For 3/4 Length Insoles:
- Loosen your shoes laces all the way if applicable.
- Insert the 3/4 length insole directly over your factory insole. Press down on the center of the heel to ease it into place.
- Put your shoe on and tighten the laces to your comfort level.
Enjoy lasting comfort and relief!
Cleaning Your Insoles:
Cleaning Your Insoles:
If your insoles require cleaning for any reason, please follow the instructions below:
- Hand wash with gentle soap and warm water
- Air dry
We do not recommend putting Protalus insoles into automatic washers or dryers. Avoid high heat.
We do not recommend putting Protalus insoles into automatic washers or dryers. Avoid high heat.
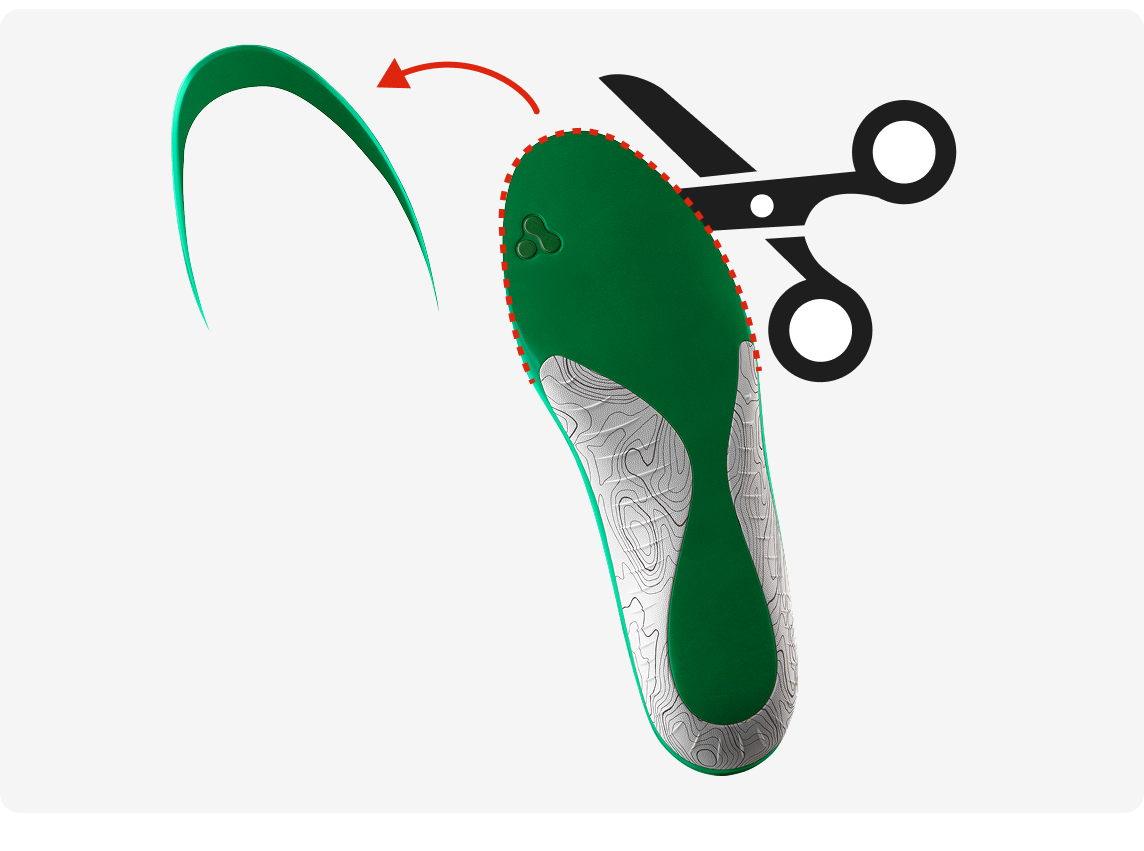
Trimming Your Insoles:
For full length insoles only.
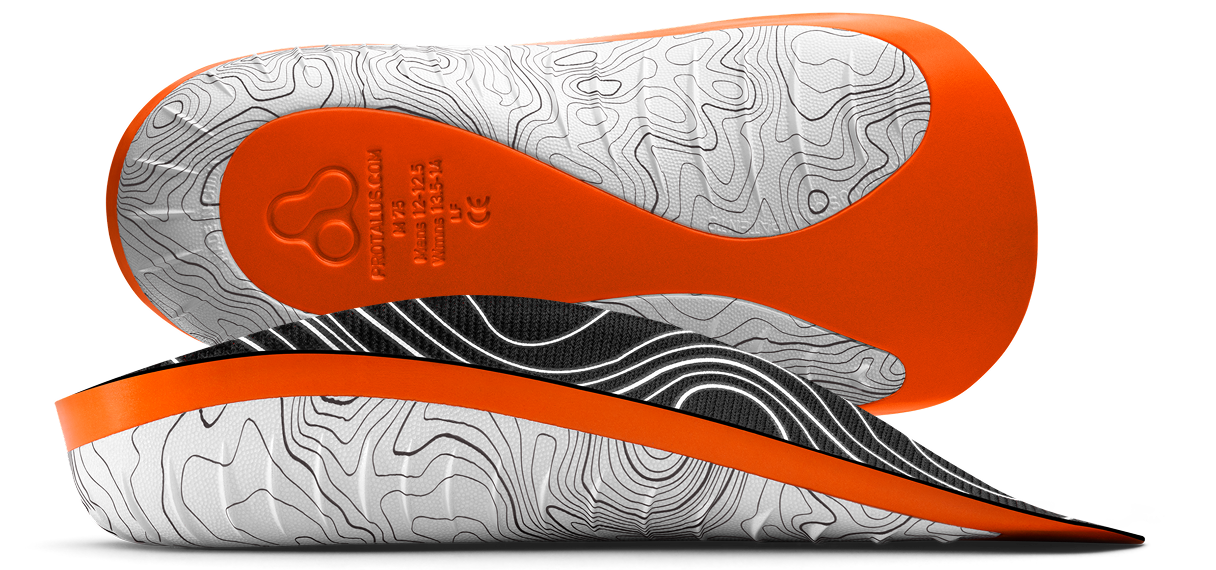
Occasionally you may find that a shoe has a particularly narrow toe area or that your insoles are slightly longer than the shoe due to the variability of sizing across shoe manufacturers. In these instances, we suggest that you trim your insoles for a better fit. Trimming your insoles will not void your 90 Day Money-back Guarantee.
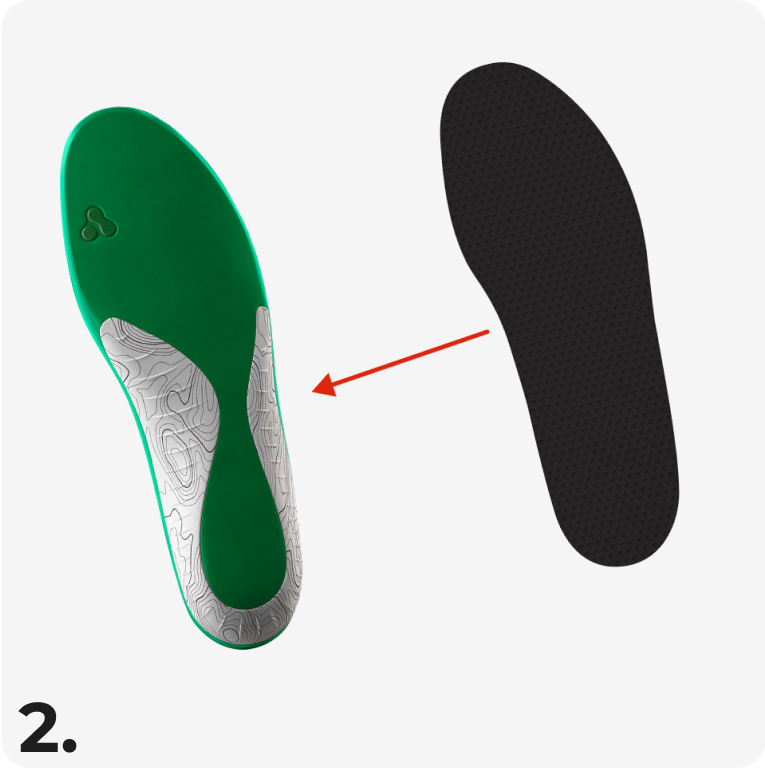
Remove your factory insole from your left shoe.
-
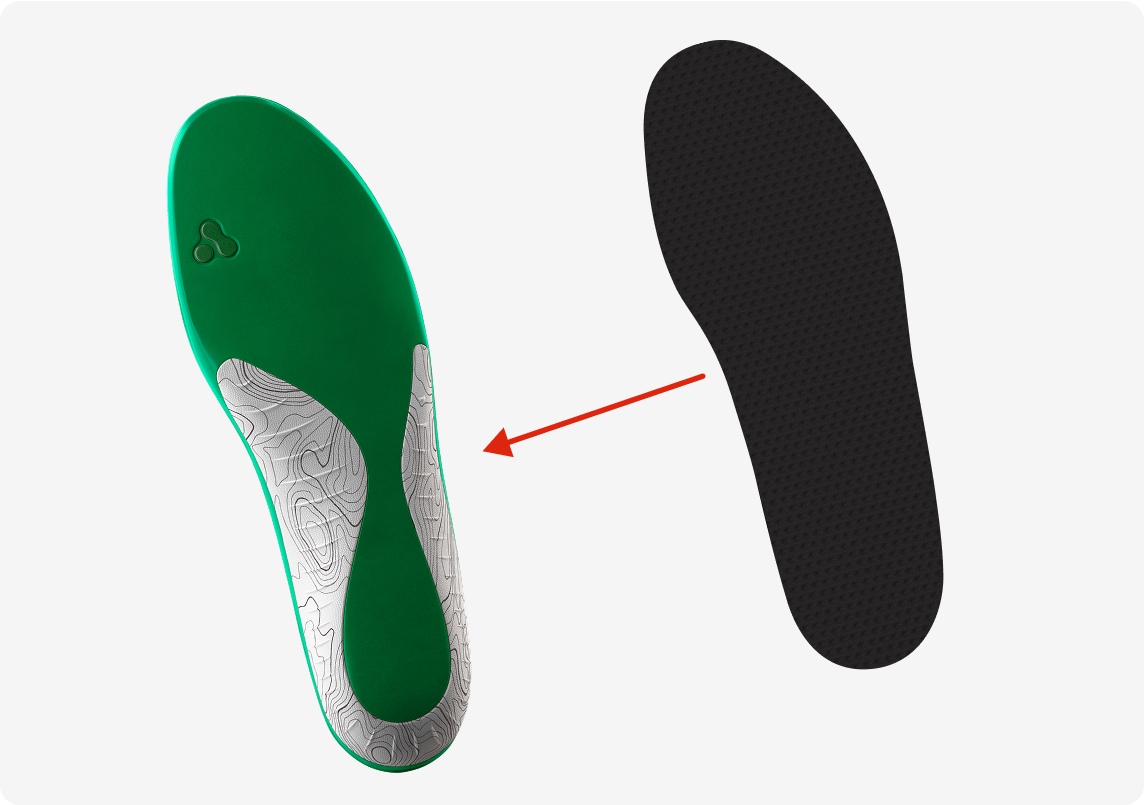
Holding them both upside-down, place the Protalus insole over the factory insole. Confirm that you are comparing the left factory insole to the left Protalus insole before proceeding.
-
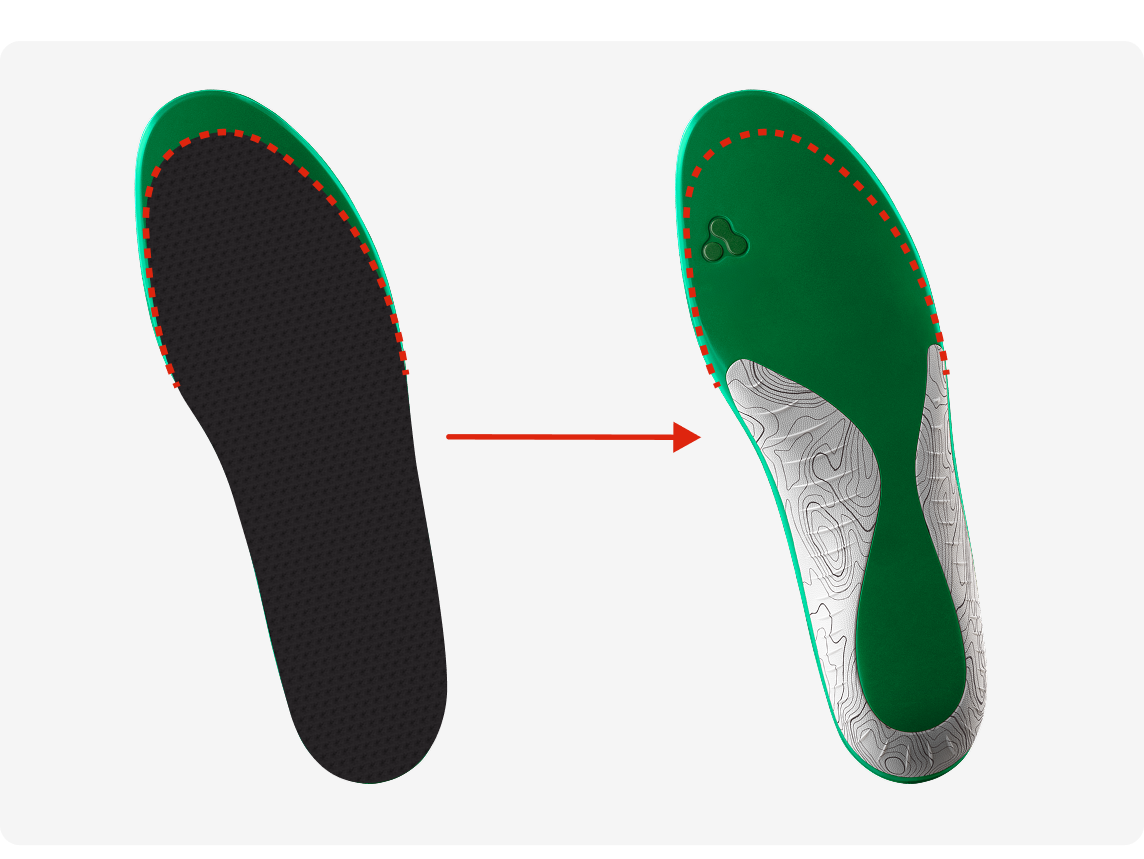
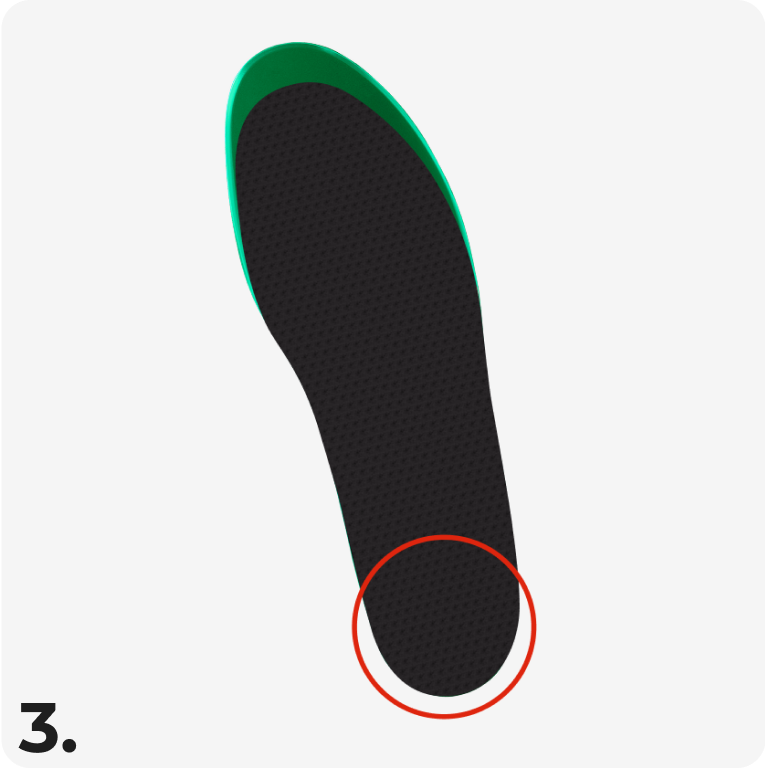
Position the insoles so that the edge of each heel is aligned.
-
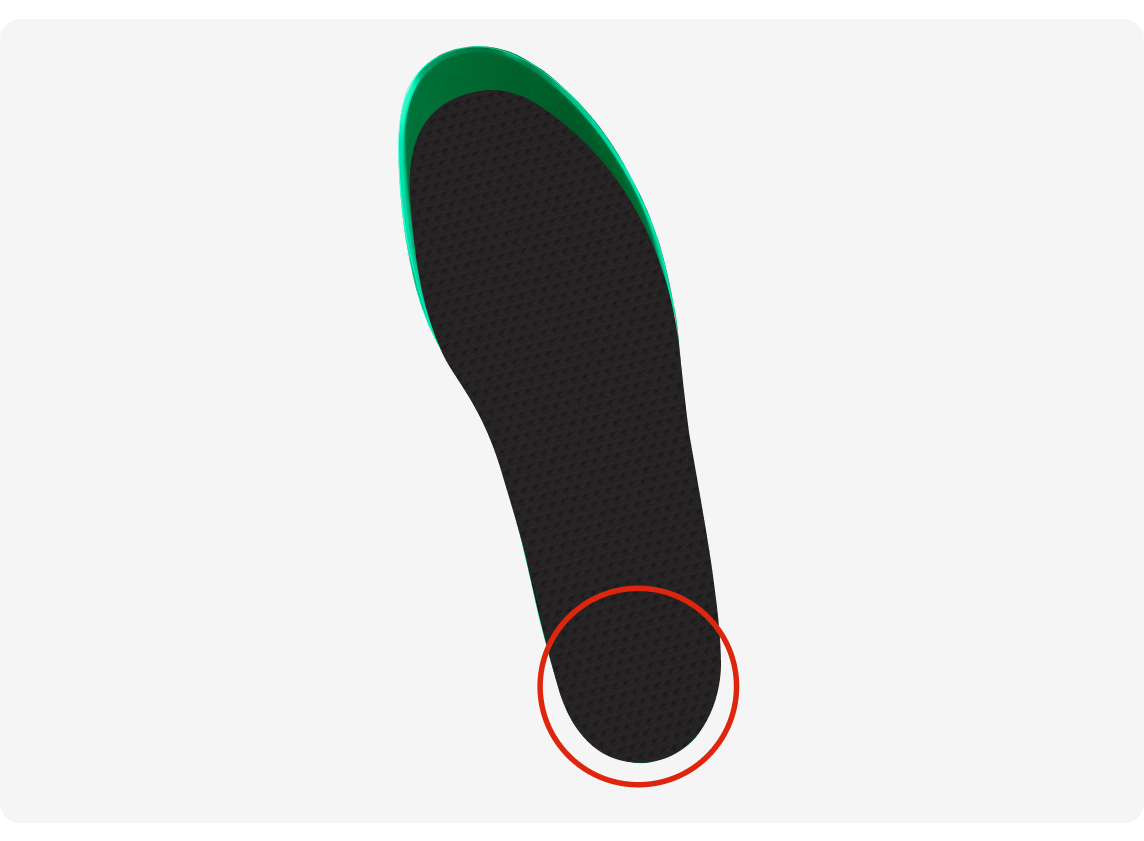
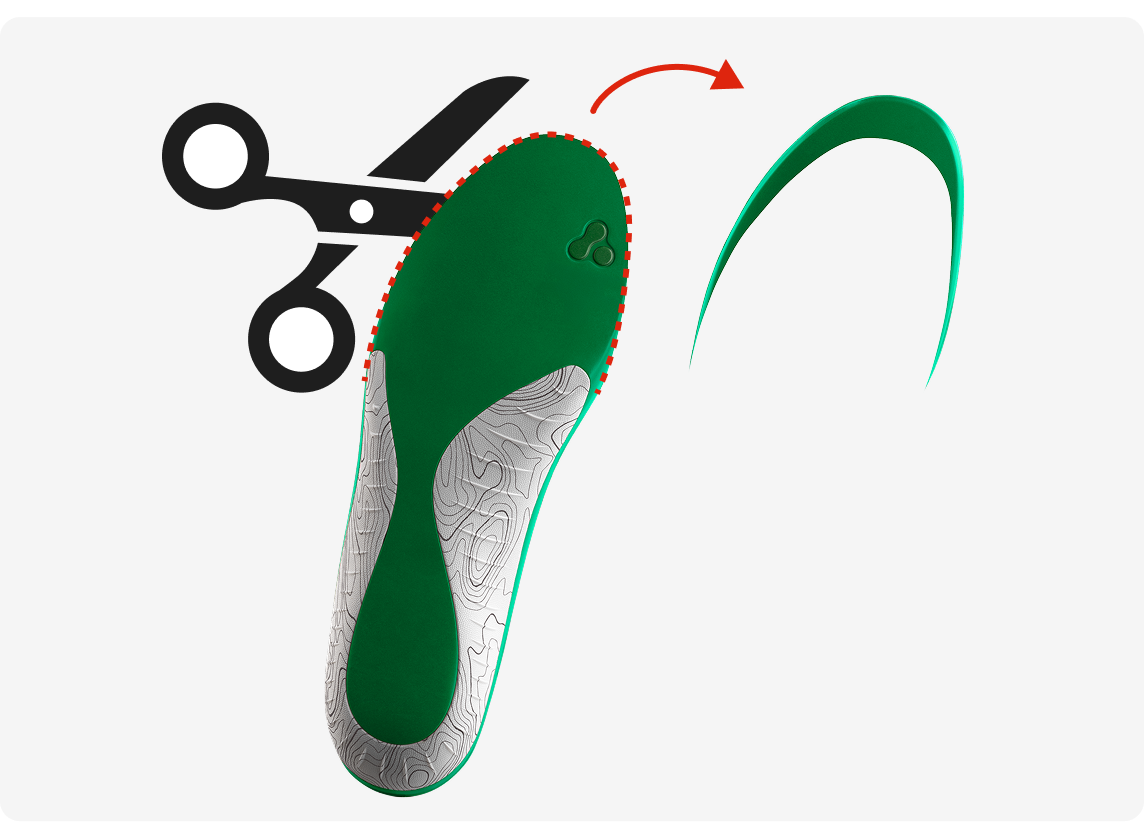
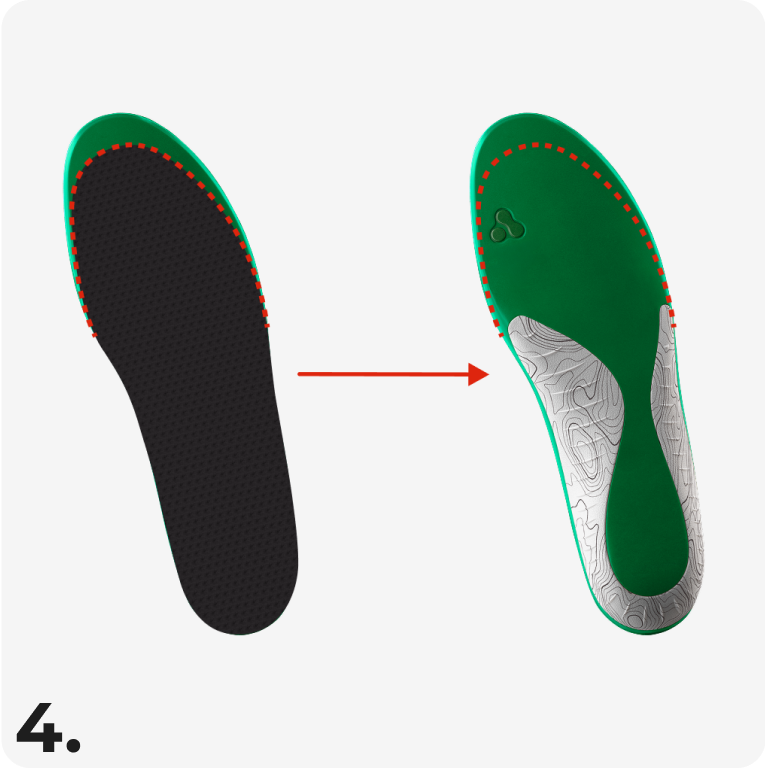
At the toe area, trace the edge of the factory insole onto the Protalus insole, then remove the factory insole.
-
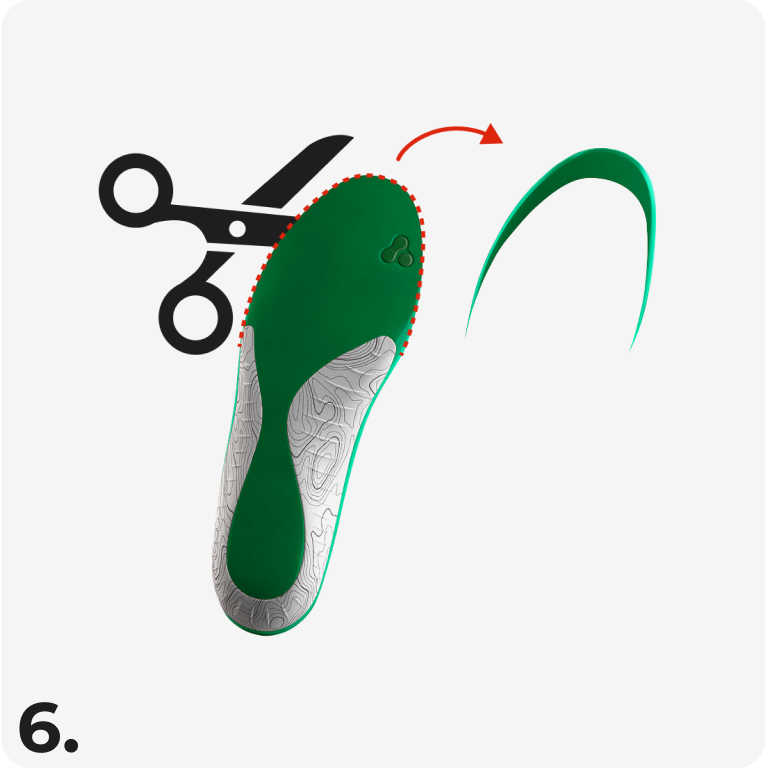
Use scissors to trim the Protalus insole along the traced line.
-
Repeat with the right side insoles.
-
Insert the trimmed Protalus insoles into your shoes and enjoy!
Trimming Your Insoles:
For full length insoles only.
Occasionally you may find that a shoe has a particularly narrow toe area or that your insoles are slightly longer than the shoe due to the variability of sizing across shoe manufacturers. In these instances, we suggest that you trim your insoles for a better fit. Trimming your insoles will not void your 90 Day Money-back Guarantee.

-
Remove your factory insole from your left shoe.
-
Holding them both upside-down, place the Protalus insole over the factory insole. Confirm that you are comparing the left factory insole to the left Protalus insole before proceeding.
-
Position the insoles so that the edge of each heel is aligned.
-
At the toe area, trace the edge of the factory insole onto the Protalus insole, then remove the factory insole.
-
Use scissors to trim the Protalus insole along the traced line.
-
Repeat with the right side insoles.
-
Insert the trimmed Protalus insoles into your shoes and enjoy!
Troubleshooting
- If your insoles squeak: This indicates that the material of your shoes that is touching your insoles happens to create a squeaky combination. This can happen with any brand of insoles. Simply place a dryer sheet between your shoe and the underside of your insoles at the back of the heel and enjoy Protalus comfort without the squeak!
- If the toe area feels tight: For sneakers, make your laces tighter near the toe of the shoe to prevent forward movement. For steel toe boots, reach out to customer service for a thinner insole option (we are happy to exchange for you) or size up your boots ½ size. Customer Service can be reached at customerservice@protalus.com and (844) 402-5446.

- If your shoes feel tight all over: First confirm that you have removed the factory insoles and loosed the laces. If the issue still persists, you may need to exchange for a thinner insole option. We are happy to exchange them for you, Customer Service can be reached at customerservice@protalus.com and (844) 402-5446

- If the insoles feel odd or different: This is normal as your feet adjust to the new insoles and should resolve in a week. If you experience pain as a result of wearing new insoles, this is not normal and you should discontinue using them immediately.
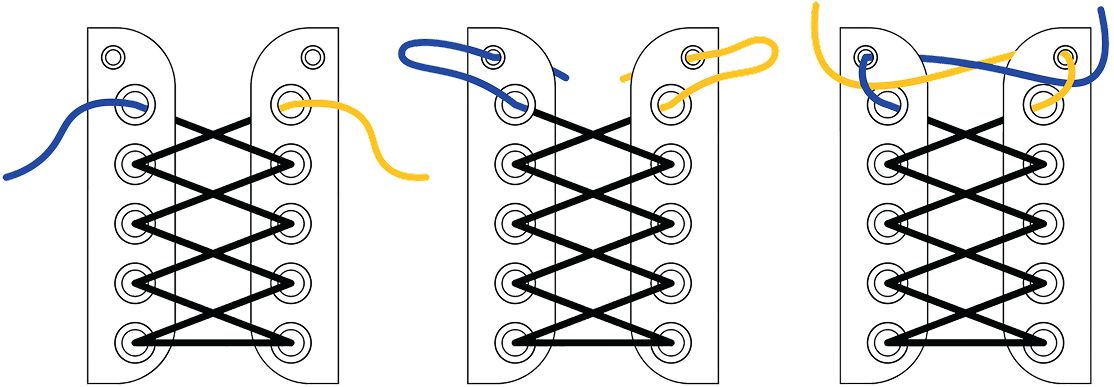
- If the heel area feel loose: Try engaging the secondary hole on your shoe to lock in the heel.
Have more questions or concerns?
Please reach out to our in-house customer service team for assistance.
Phone:
(844) 402-5446
Email:
customerservice@protalus.com
Chat:
Look for the chat icon on the bottom right of this page
Phone: (844) 402-5446
Email: customerservice@protalus.com
Chat: Look for the chat icon on the bottom right of this page
Mon - Fri | 6am - 5pm Pacific Time